It’s really a simple process, not as daunting as it may seem, and far more rewarding than using store-bought crusts. In this post, I share my success and troubleshooting tips so you can make the perfect pie crust every time! So, without further ado, here’s how I make a flaky, buttery homemade pie crust, and I am excited to show you so you can elevate your pies to the next level. Scroll down to the recipe card for the complete list of ingredients and measurements.
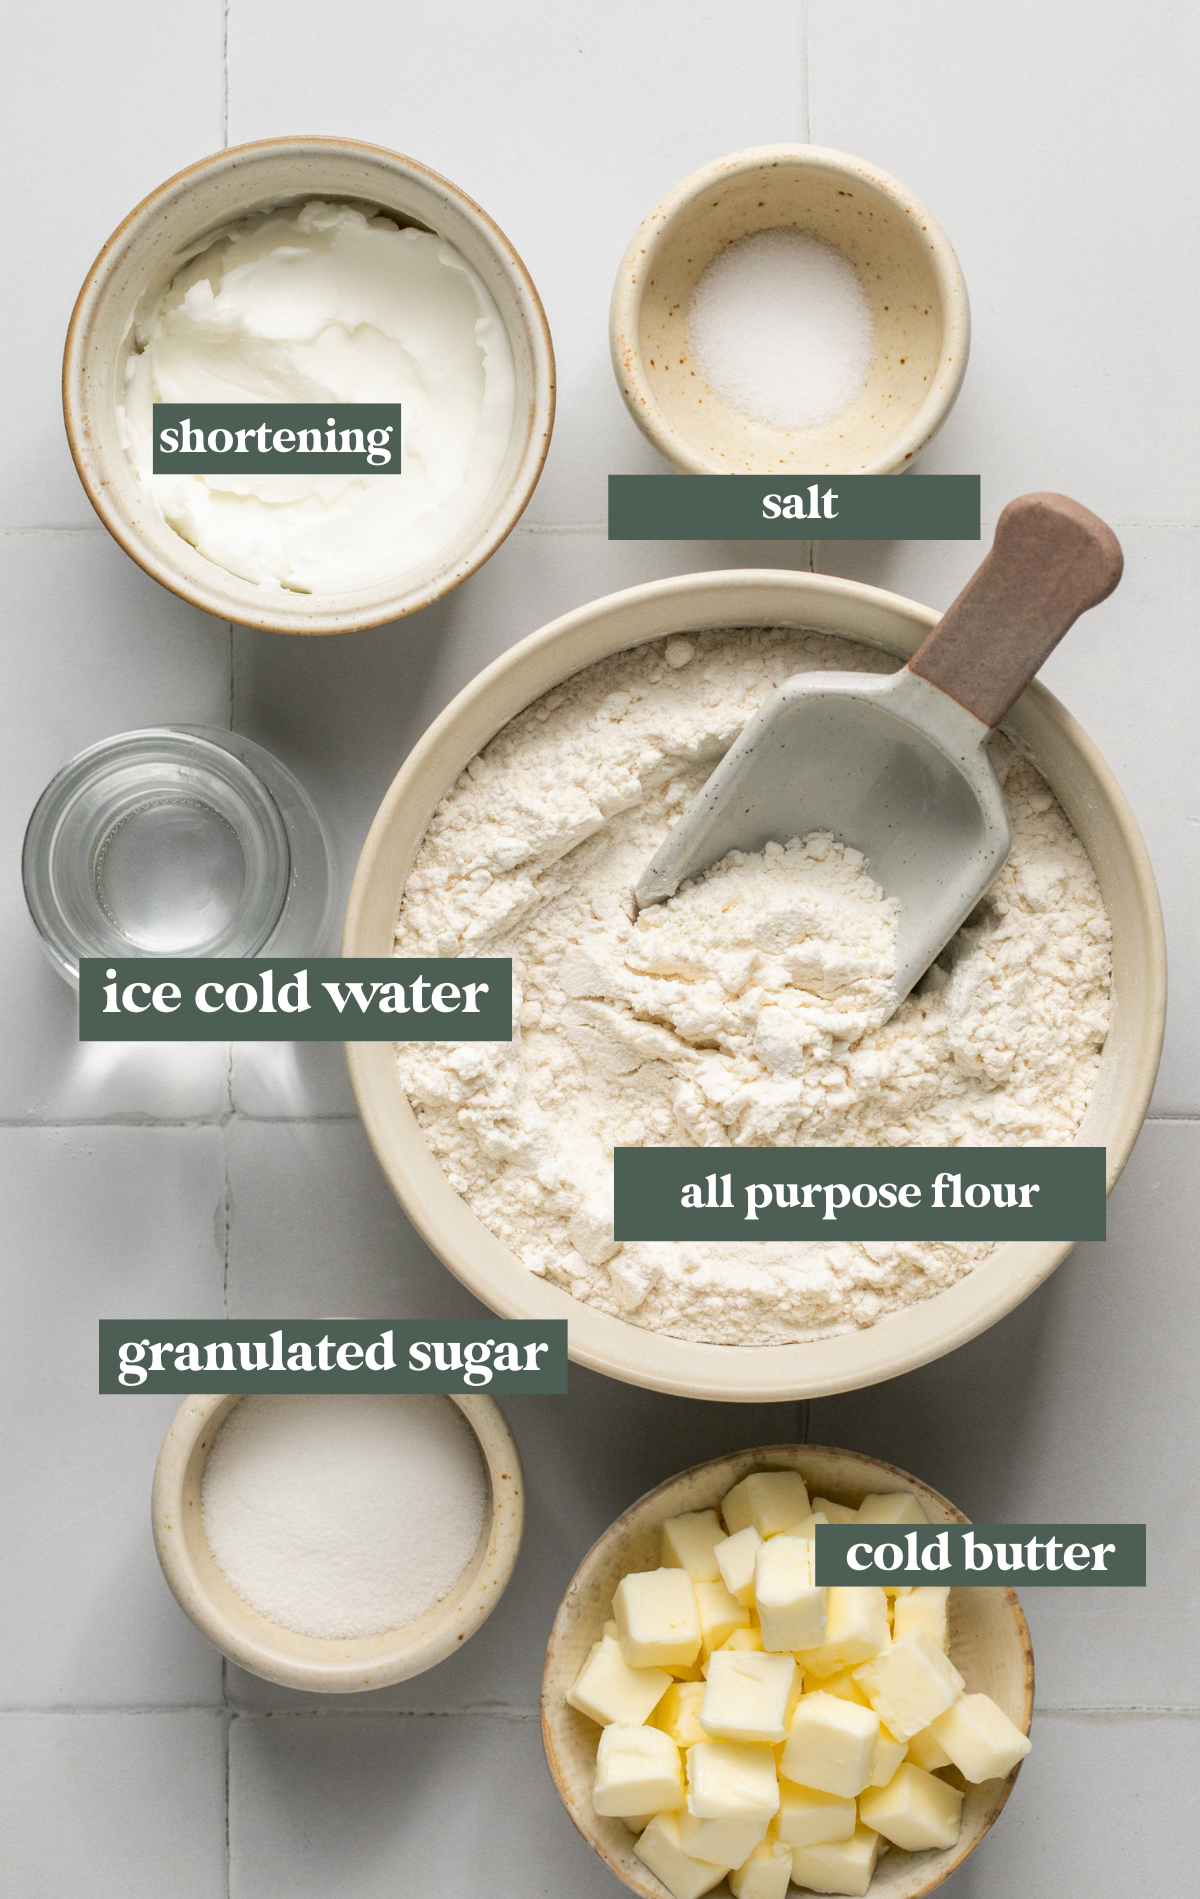
All-purpose flour: the base of the pie dough, providing the structure and shape of the dough. Butter and shortening: I like to use a combination of both in my recipe. The butter helps give the pie dough a rich, flaky texture, and the shortening helps the crust hold its shape while giving it a tender texture. Sugar: I like to add a little sugar to my pie crust because it helps it brown and, of course, adds some flavor. You can leave it out, though, if you prefer. Salt: to make the crust a little interesting and yummy! Ice-cold water: Sticking with the trend of “keep it cold,” we need a little ice-cold water for the dough. Less is more when it comes to adding water. It can be tempting to add a lot, but too much water can lead to a sticky dough and a tough crust. You want enough water for the dough to come together, and even if it feels a little dry when the dough rests in the fridge, the flour will continue to hydrate, and it will be perfect.
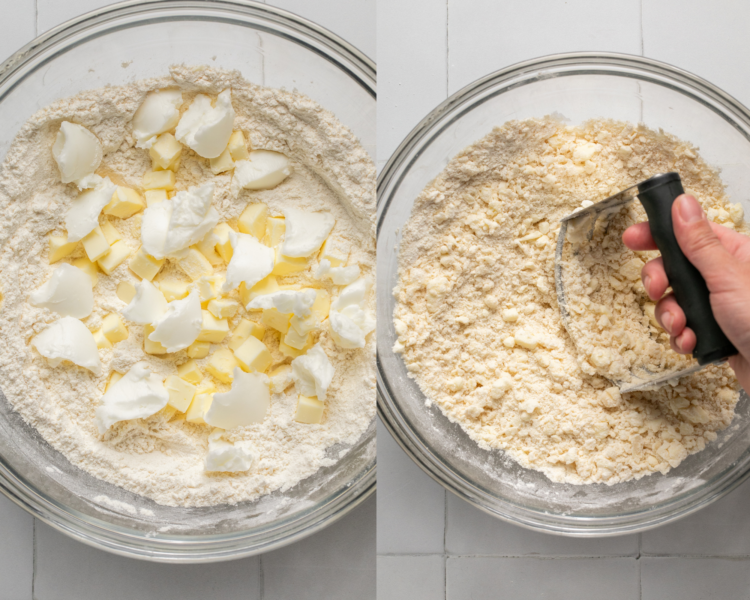
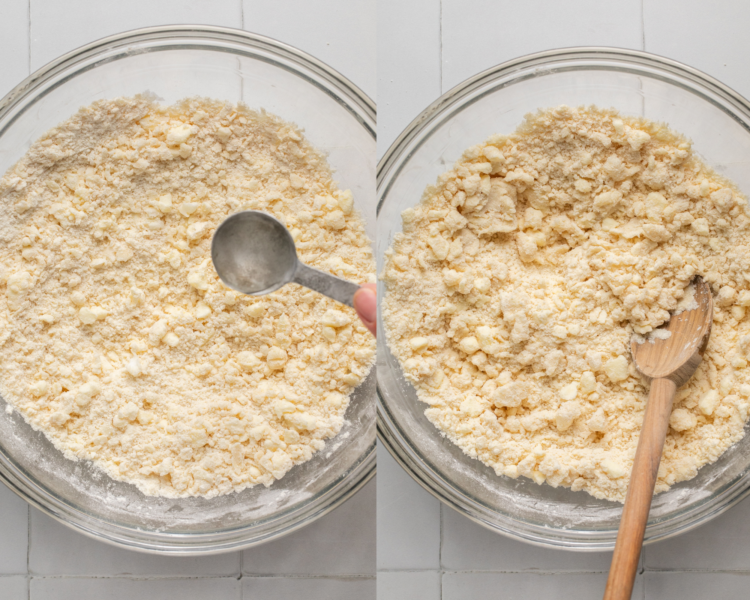
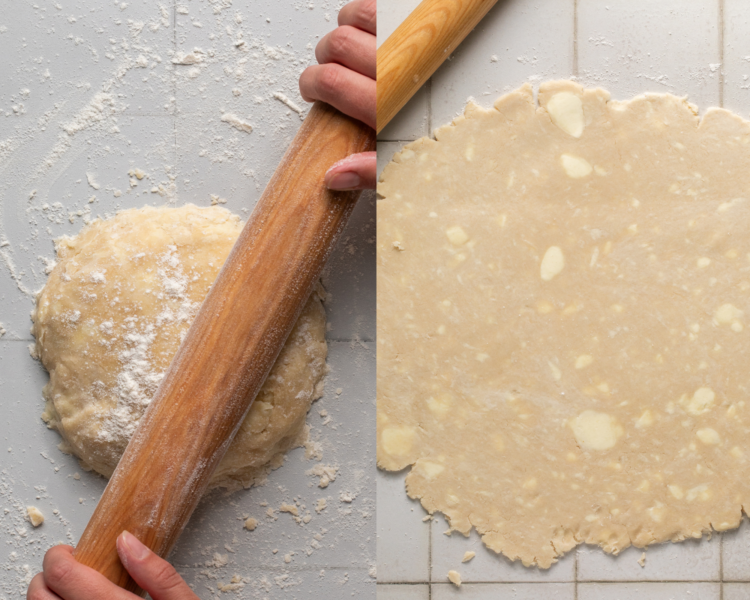
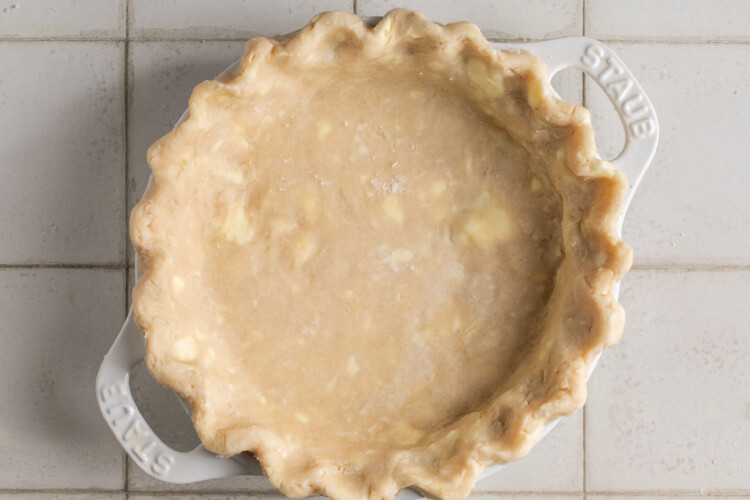
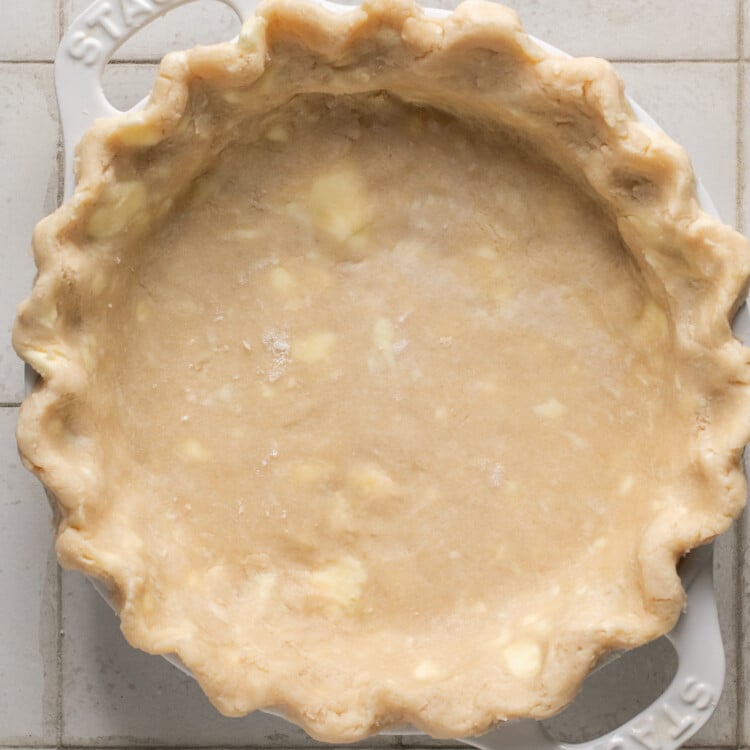
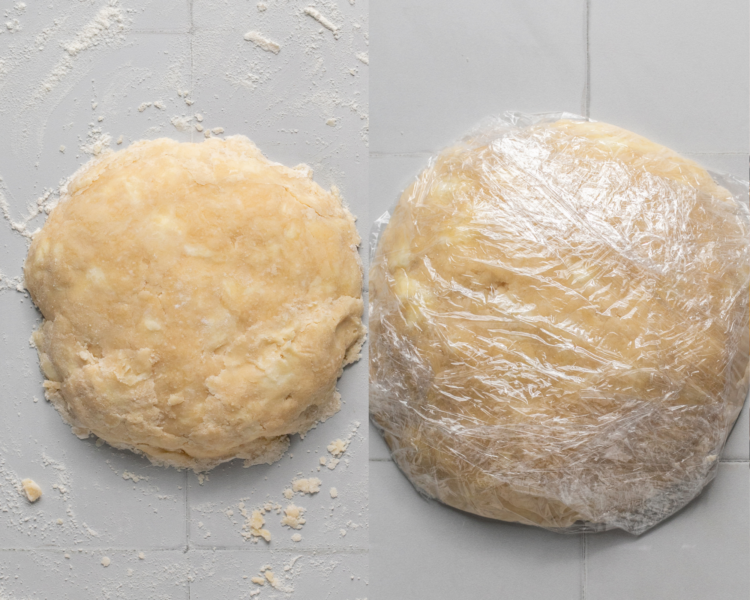
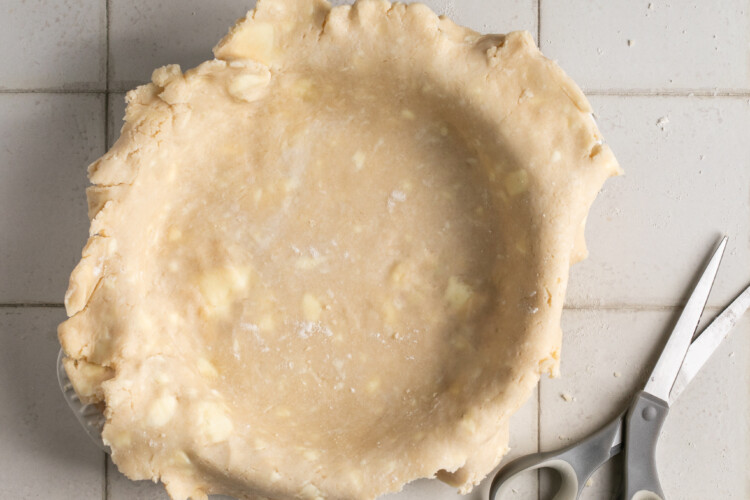
Add the water slowly: don’t add all the ice-cold water in at once. Drizzle in 1 tablespoon at a time in the center, and push the dough towards it to incorporate. After you add the water, don’t knead it too much: Kneading the dough too much will ruin its chance of being flaky and delicious. Also, keep those chunks of butter you see. These will melt when baked into the dough to create gorgeous, flaky layers! Chill time: Once you form the dough into a disk, chill it for at least 1-2 hours or up to 3 days. This chill time hardens the butter and shortening to help the crust maintain its shape, and the rest time relaxes the gluten, making it easier to roll out and prevent shrinking when baking. Handle the dough as little as possible: Of course, we need to handle it some for it to come together, but the key is to work with the dough as little as possible and add water gradually, just until the dough comes together to keep it flaky instead of tough. Be mindful when rolling: Roll the dough from the center outwards, rotating it frequently to maintain an even thickness. Dust the surface and rolling pin lightly with flour to prevent sticking. Chill again: After you place the dough in the pie pan and crimp or flute the edges, this second chill before baking is key to help the fat stay solid until it hits the oven, ensuring a flakier crust.