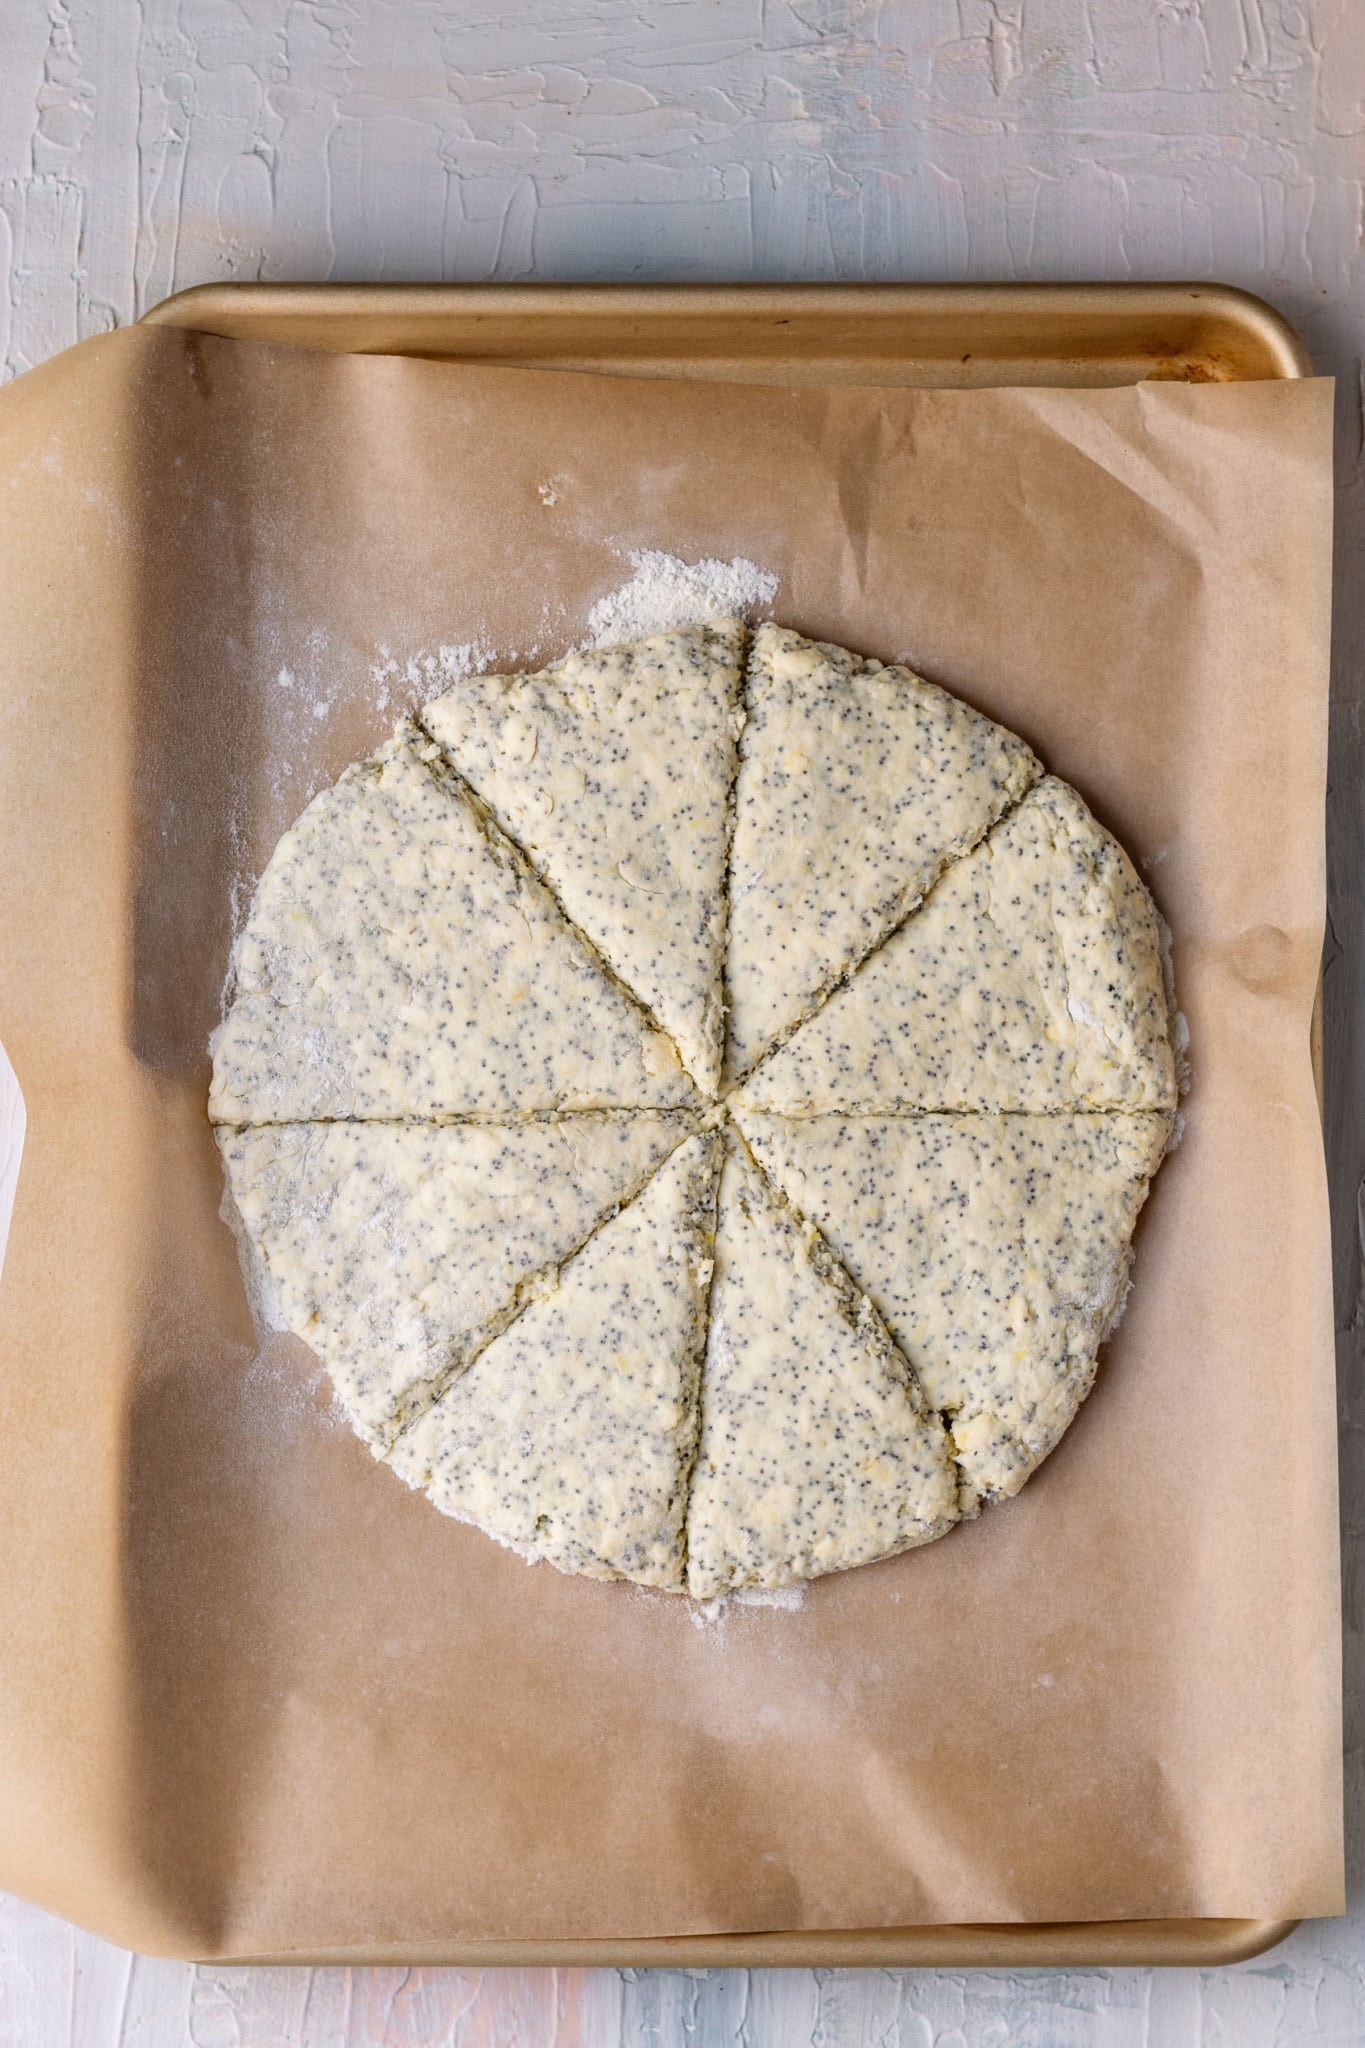
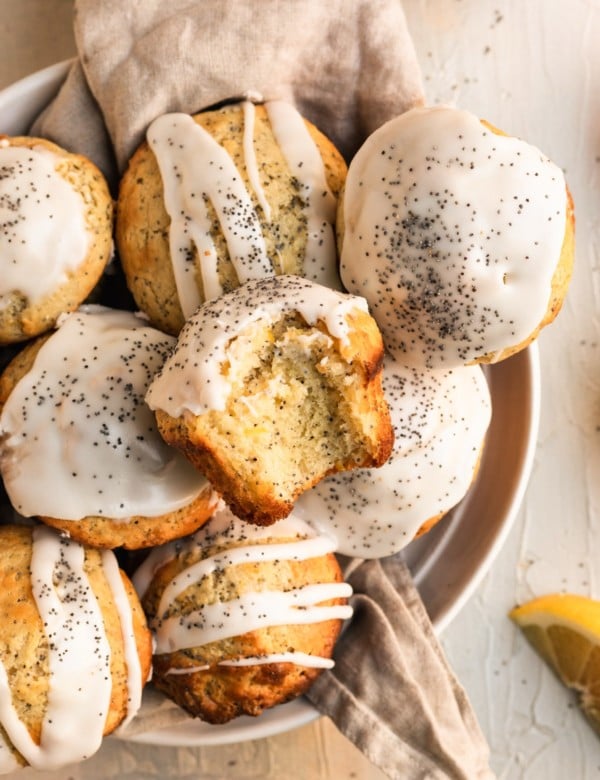
My mom has a lemon tree in her backyard that has been producing lemons like crazy and she will call me over to pick up lemons from time to time. Life literally handed me lemons and said, “Hey Tawnie, make something!” So with lemon overload, and 3 full poppy seed jars I found on the spice rack…I decided to make some lemon poppyseed scones! I love scones. Not the ones that are dry and crumbly. But ones that have a moist texture and go perfectly with a cup of coffee in the morning. OR with a cup of tea post dinner, I’ll take both! I was so pleased with how this batch came out, and I give credit to the Greek yogurt. A lot of recipes use sour cream but I opt for the Greek yogurt for extra nutrients and less fat. (If you only have sour cream, it’s a fine substitute). Can’t get enough scones? Check out my Chocolate Chip Scones, Maple Scones, and Pumpkin Scones for more delicious-ness!
All Purpose Flour: I’ve only ever tested this recipe with All-Purpose Flour. Use pastry flour for lighter scones. I cannot speak for using a whole wheat or gluten free flours in this recipe since I have not tested it personally. Poppyseeds: Because lemon and poppyseeds go together like Minnie and Mickey! Sugar: I added 1/3 cup in my recipe, some recipes add more. Feel free to add a bit more for a sweeter scones. Lemon zest: Adds a brightness to the scone that you’ll love! Baking powder: adds lift Salt: adds flavor Cold, unsalted butter: Be sure butter stays nice and cold! The butter is responsible for a flaky scone and cold butter makes scones rise higher. Greek Yogurt: Keeps scones moist. Be sure to use a full-fat plain. Heavy cream, cold: Be sure heavy cream is cold when adding into recipe. You can also sub buttermilk. But be sure to avoid thinner milks because it will yield a flatter, less flavorful scone. Fresh lemon juice (juice from 1 lemon)
Expert Tips
For buttery, tender scones be sure to follow these pro tips!
Always use cold ingredients. Keep the butter, cream and yogurt all in the fridge right before you use it in the recipe. Using cold ingredients prevents the butter from melting before the scones are baked, leaving it instead to melt in the oven and create a super-flaky end result. I like use frozen butter or if you don’t have any frozen, place butter in the freezer 15 minutes before beginning to ensure it is cold! You can even place the bowls you are using in freezer before you begin baking to ensure everything is very cold! Gently knead the dough but do not over work it. Scones, like biscuits, are most tender when handled minimally. So have your ingredients ready, and use a soft touch when mixing and patting the dough. Use a little additional flour on your hands if the dough is sticky. Your hands can sometimes warm up the dough when working with it, and as we know it’s important for it to stay cold. If you feel the dough has warmed up, cut the scone dough into wedges, place them on a baking sheet, and keep them in the fridge or freezer while the oven preheats. Chilling the dough before baking also relaxes the gluten which yields a tender texture. It also cools the butter down again, which is how you’ll get that flaky texture. Make sure your oven is fully preheated before baking the scones. Don’t over-bake; dark scones will be dry. Break one open to check for doneness: the interior shouldn’t appear doughy or wet, but should feel nicely moist. Spacing: Space scones apart from each other 1-2 inches on the baking sheet.