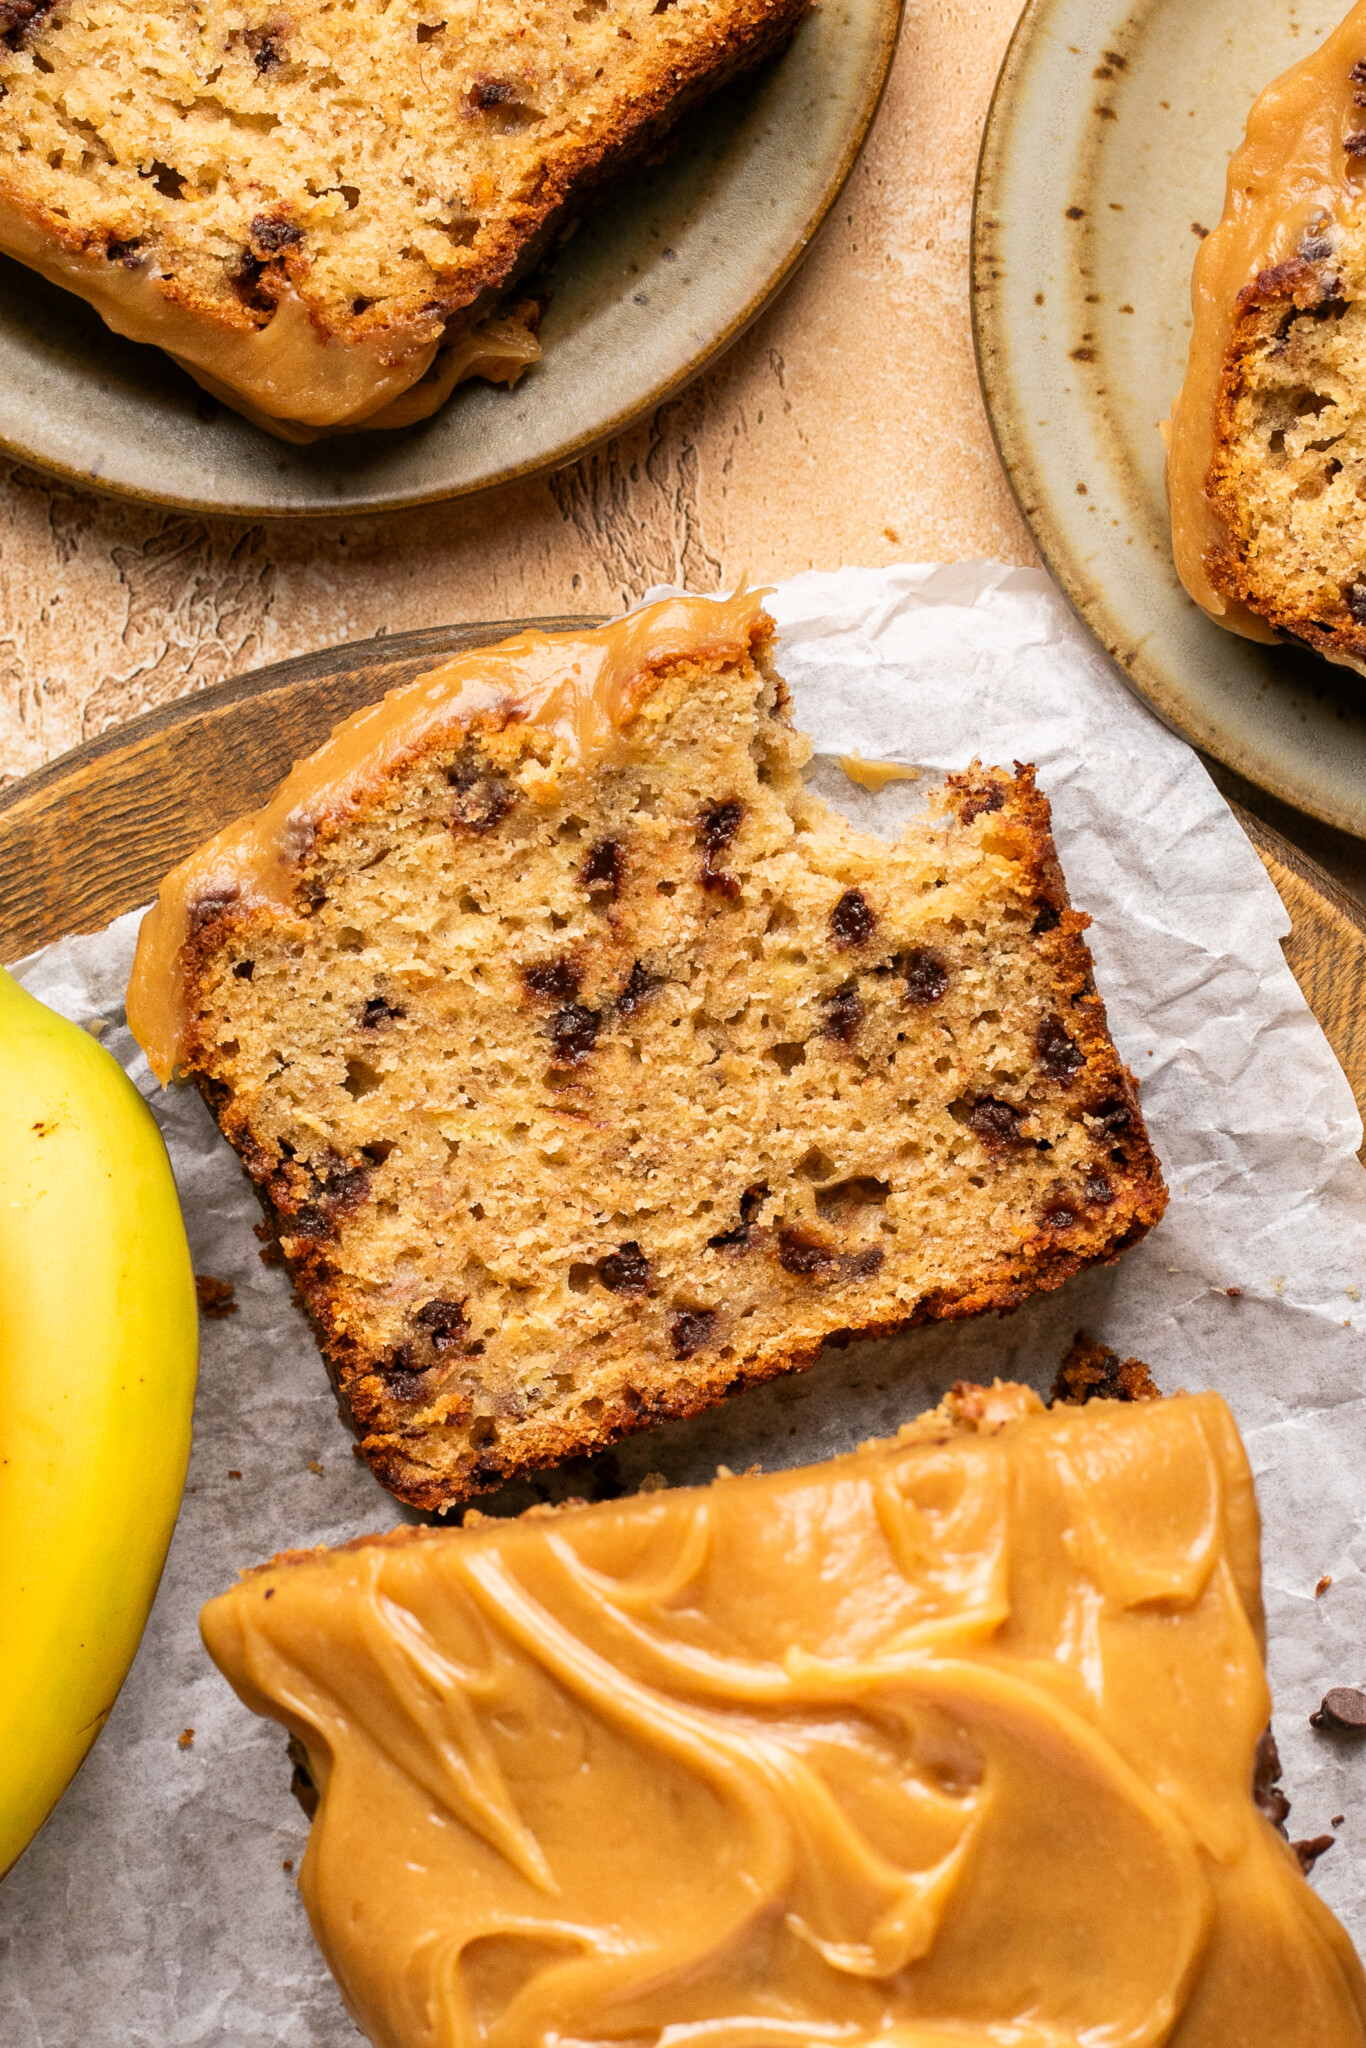
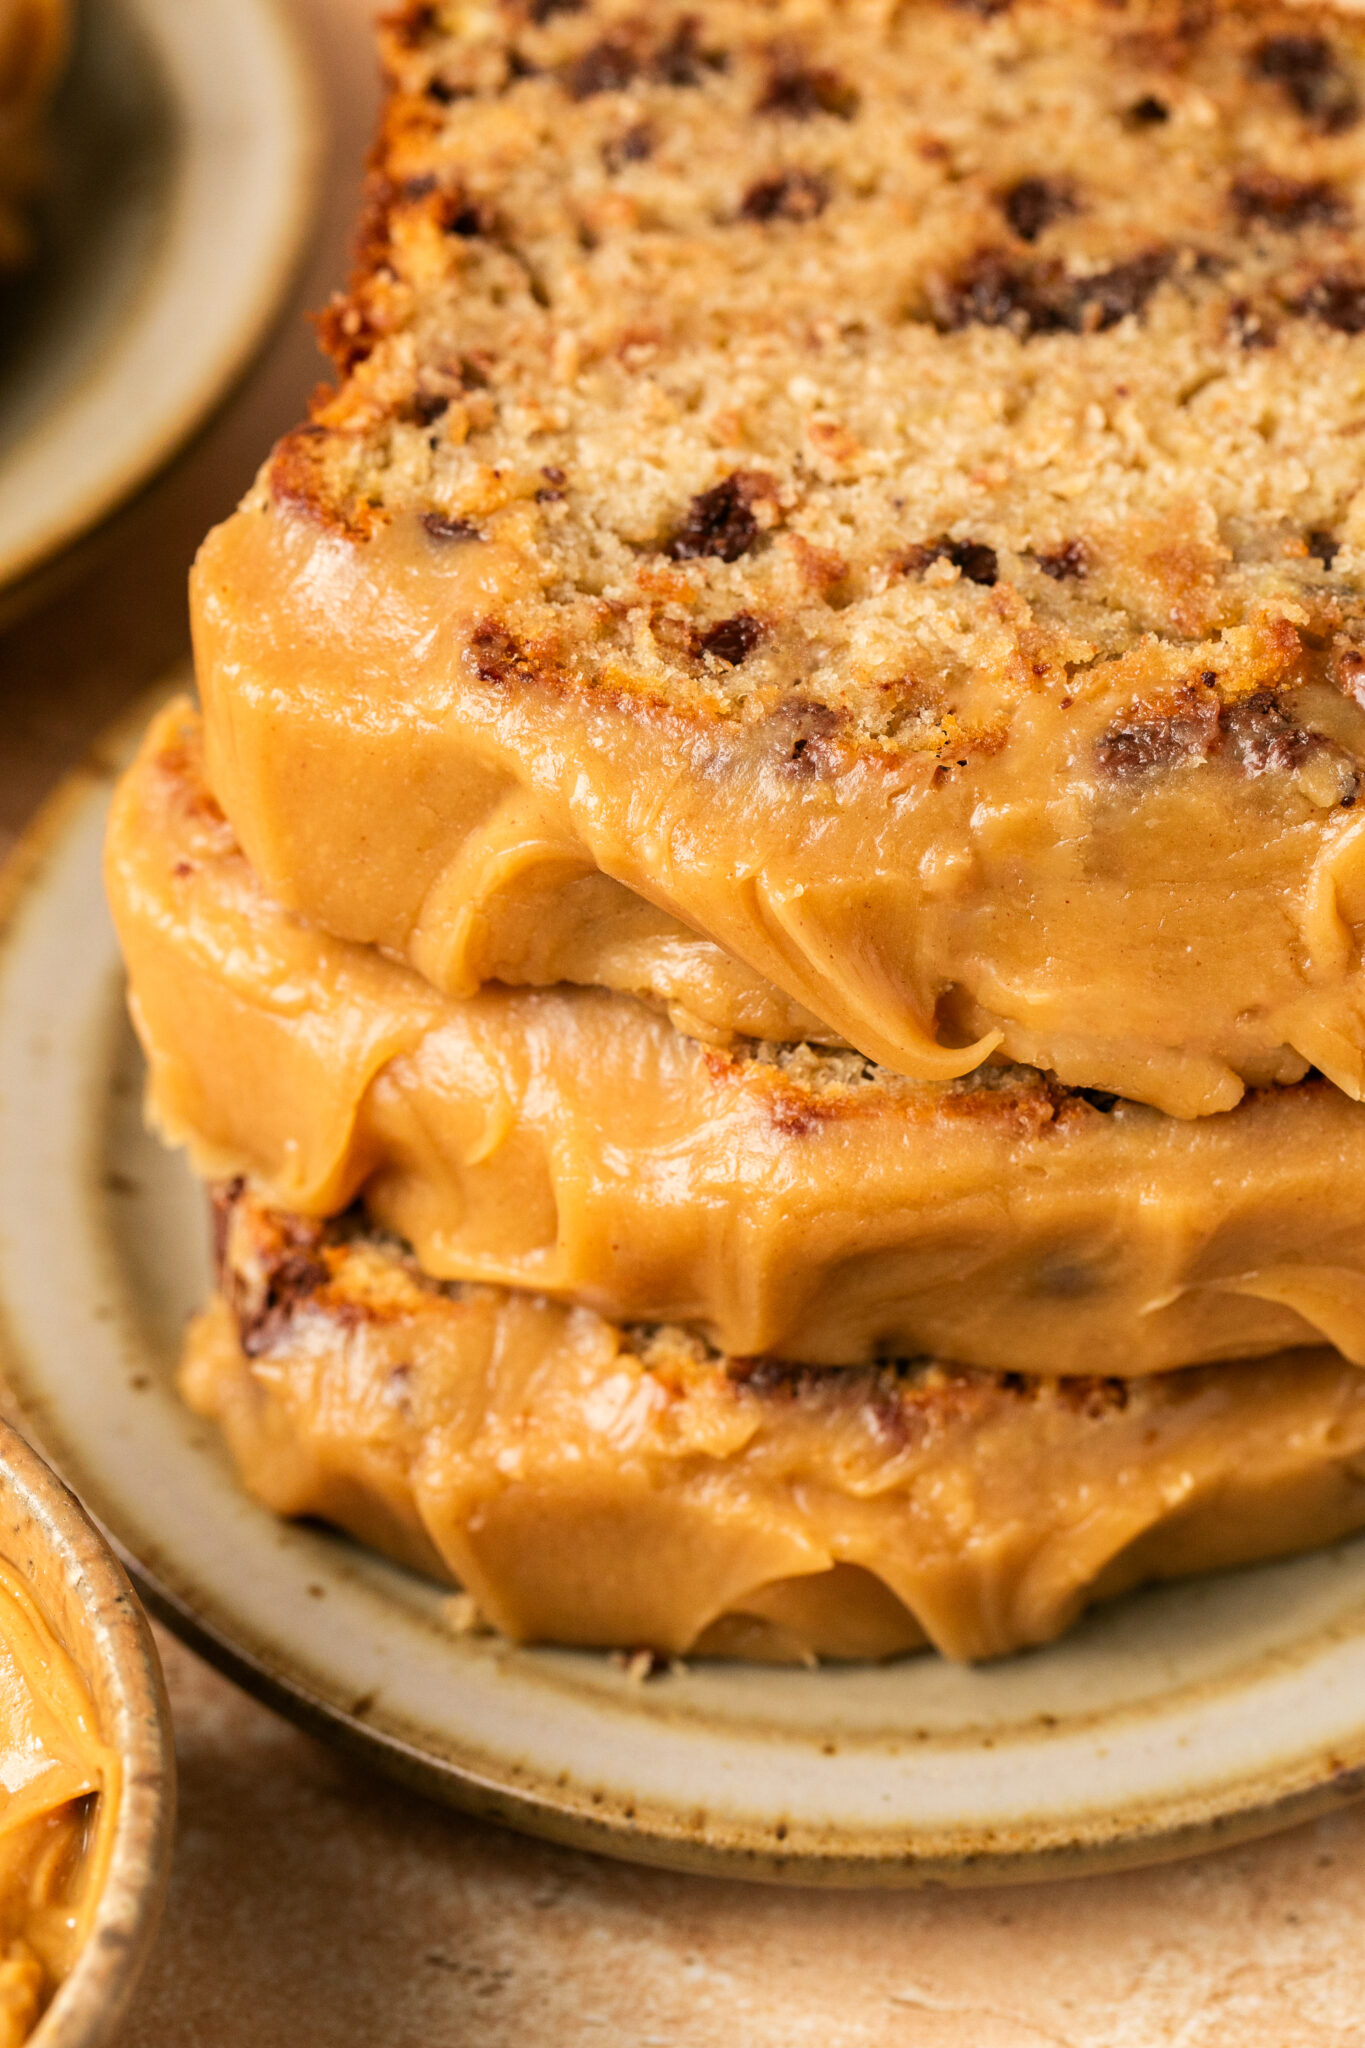
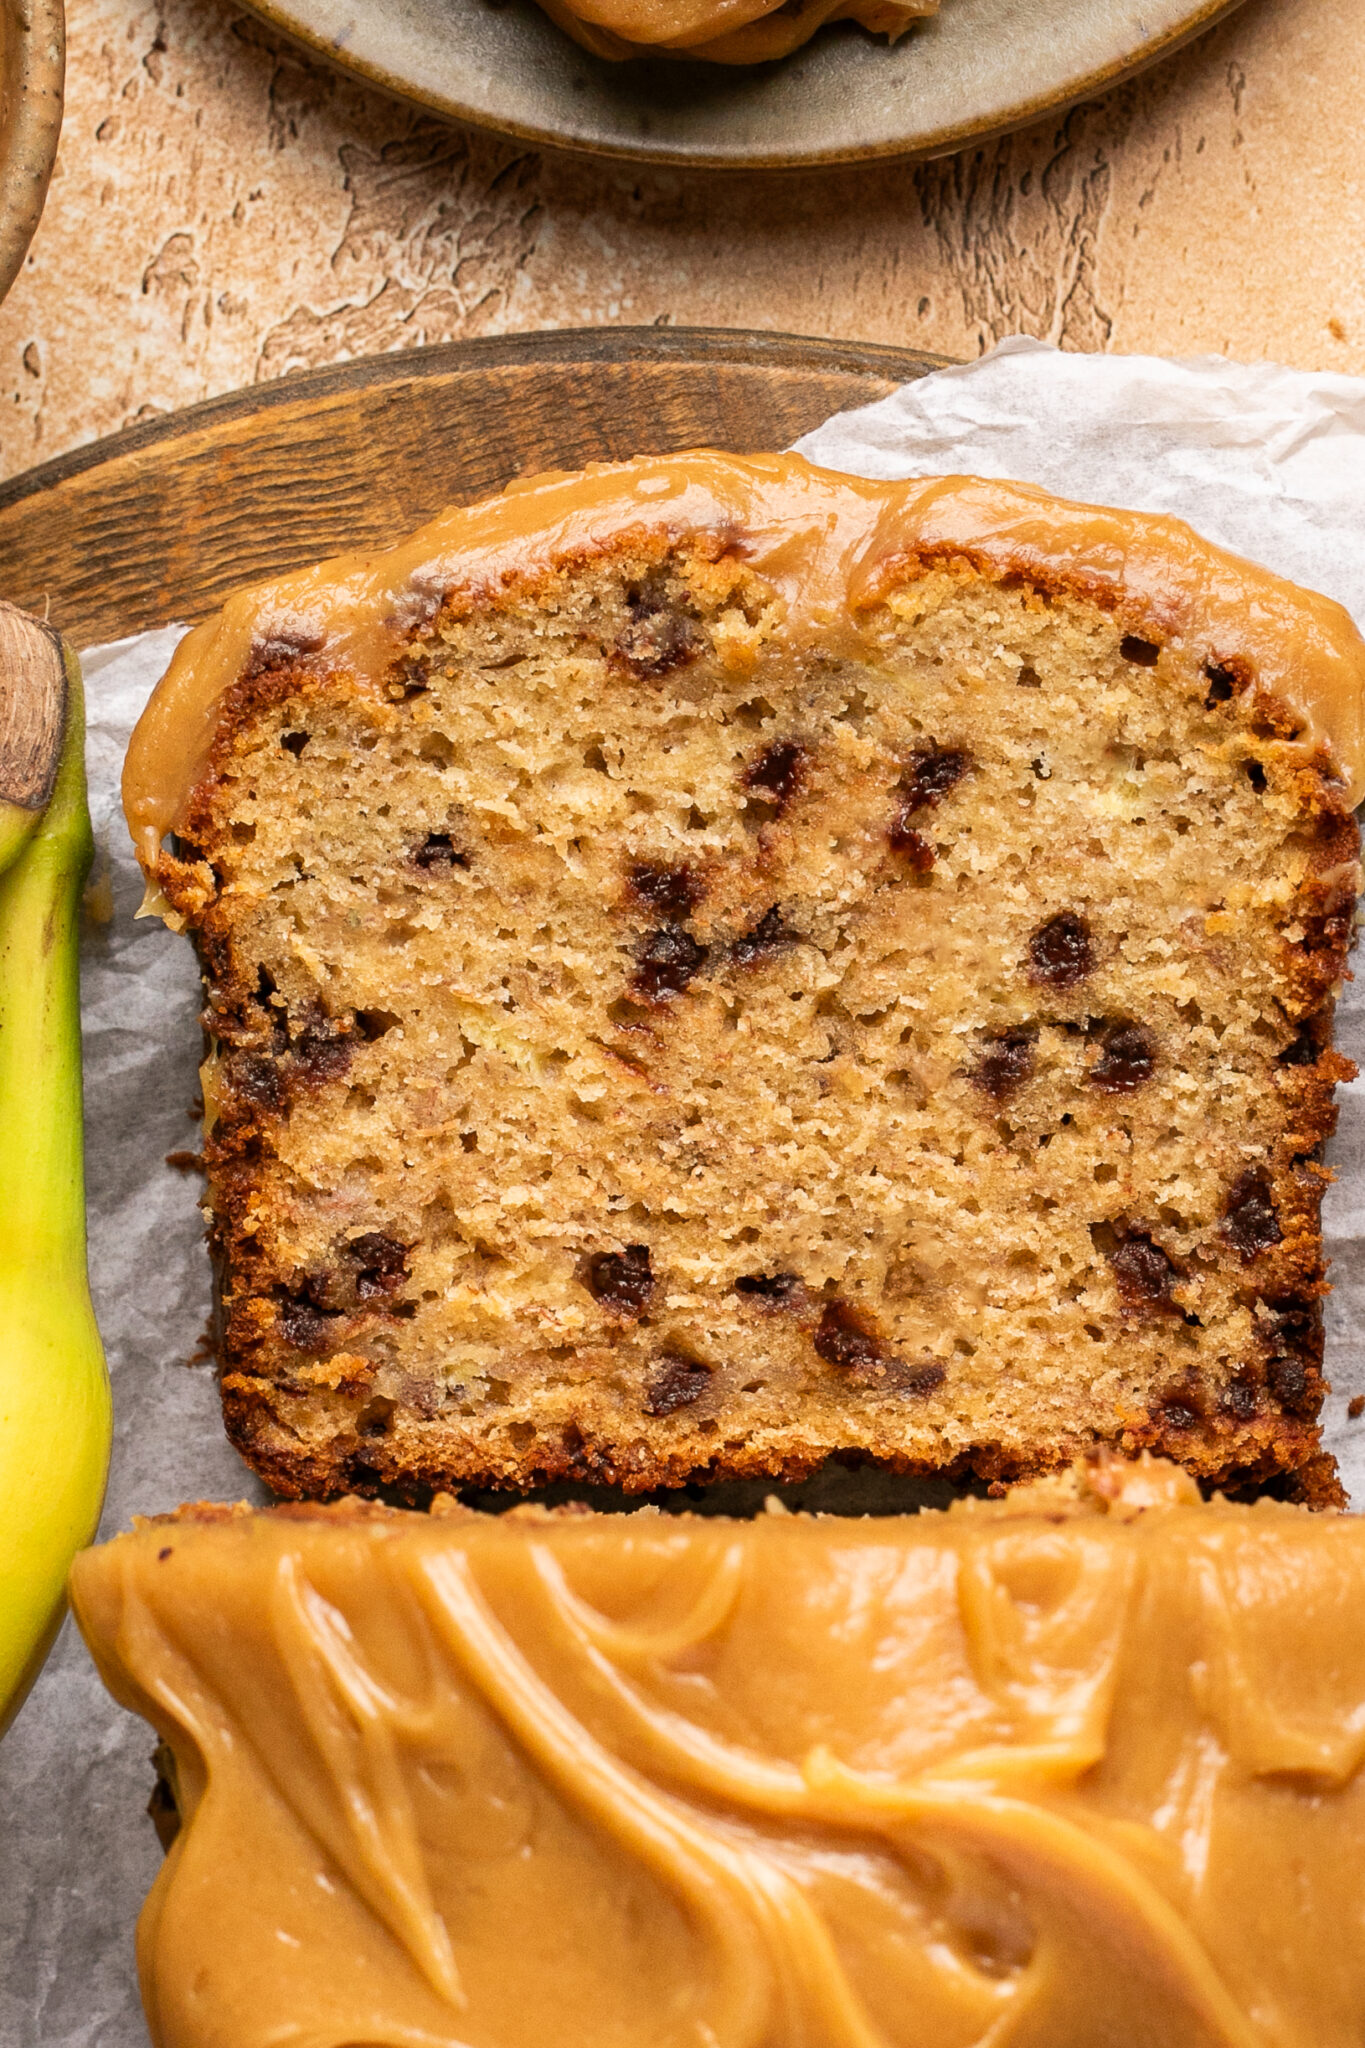
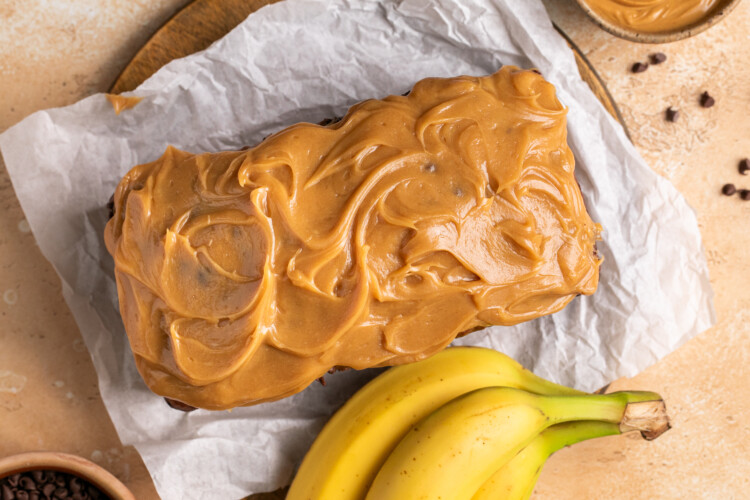
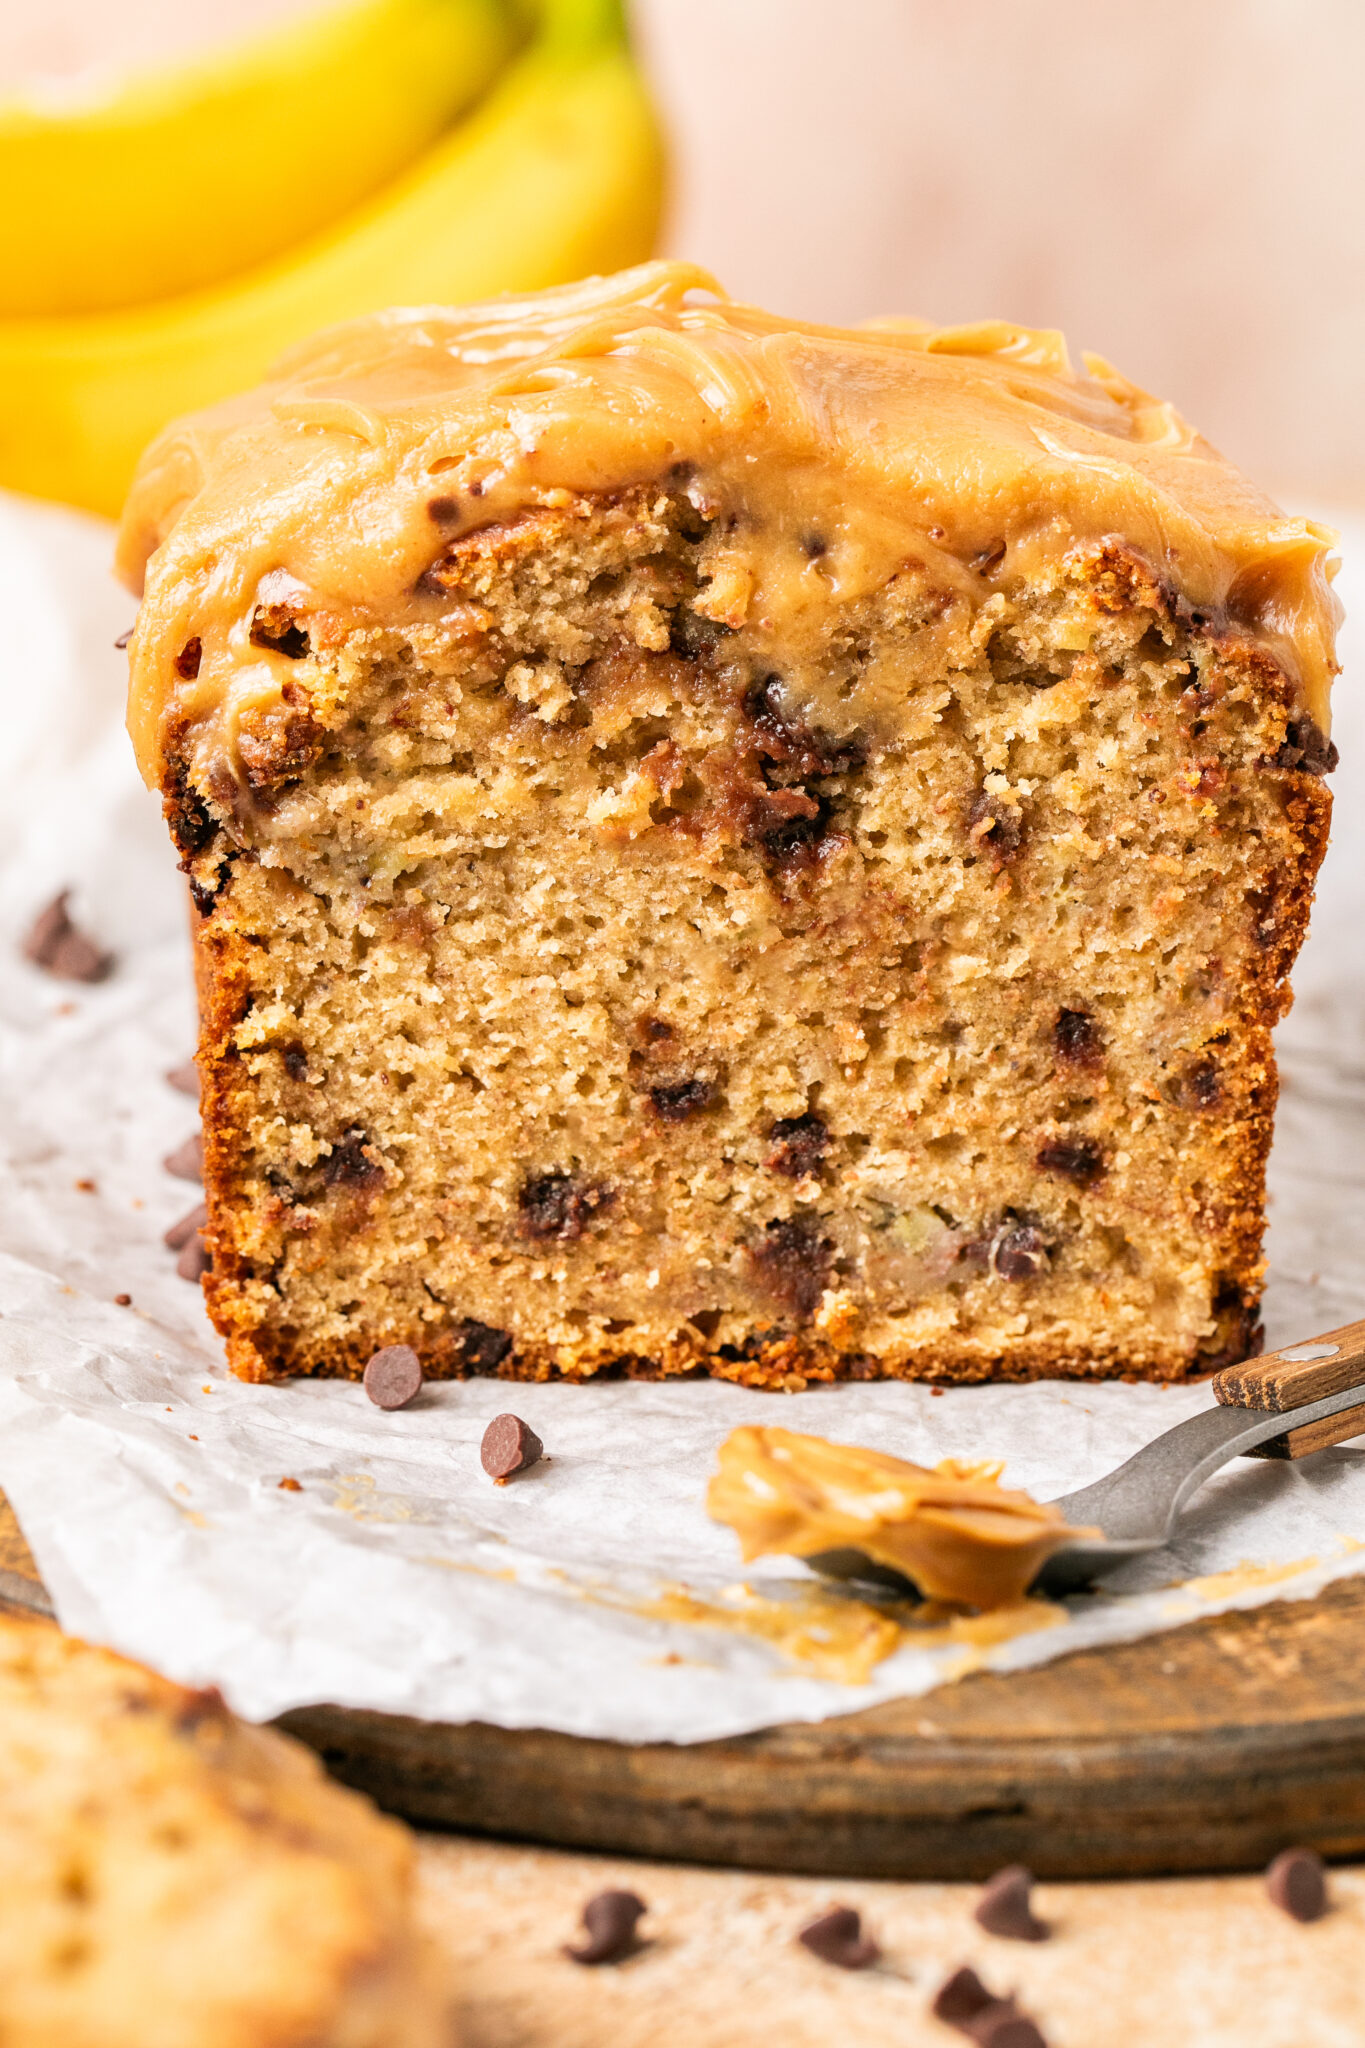
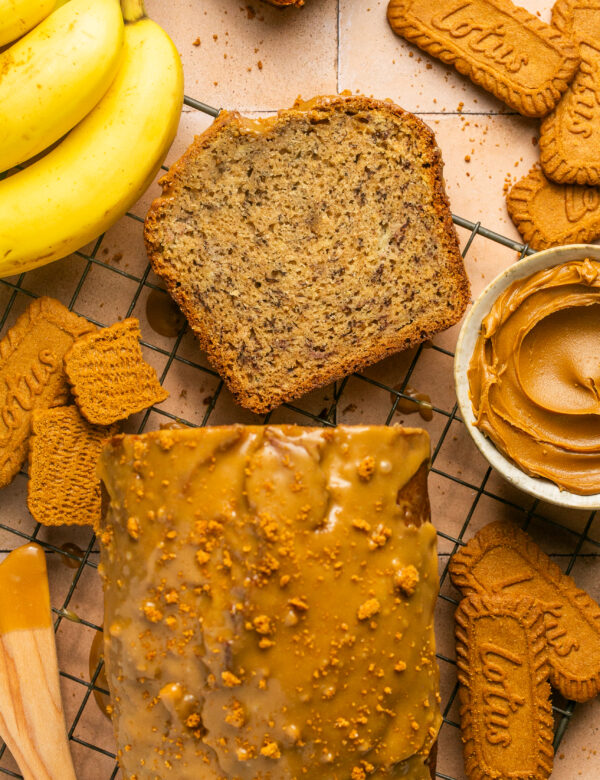
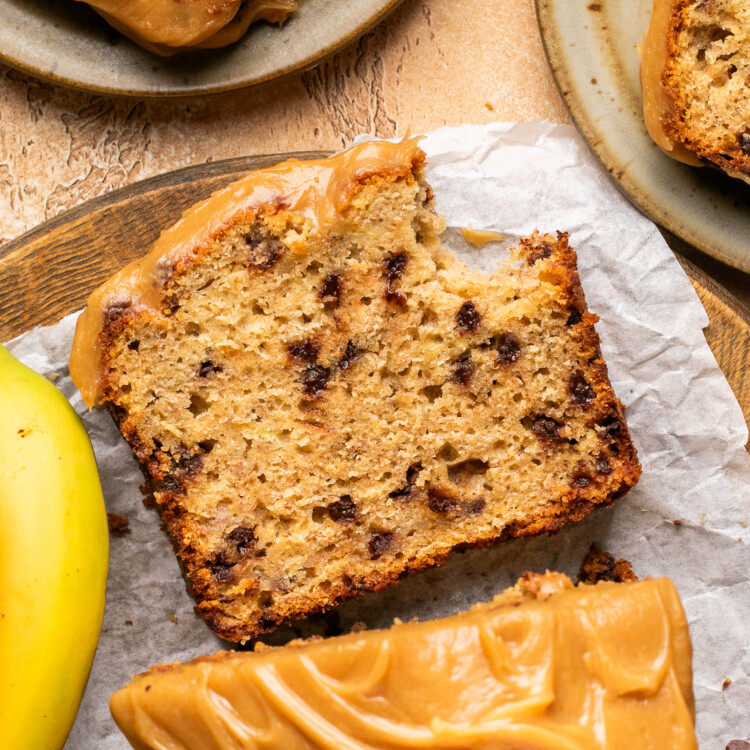
This loaf has the rich, nutty flavor of peanut butter mingling with the natural sweetness of bananas, and you can’t forget the cutest little mini melty chocolate chips studded throughout. One of my favorite parts of this recipe is the creamy, sweet peanut butter frosting. It pairs perfectly with the flavorful and moist banana bread, making each slice totally irresistible. It’s perfect for breakfast, a snack, or dessert and of course is a great way to use up those overripe bananas sitting on your counter. It’s tender, moist, perfectly peanut butter-y, and I just know it will become a new favorite in your house!
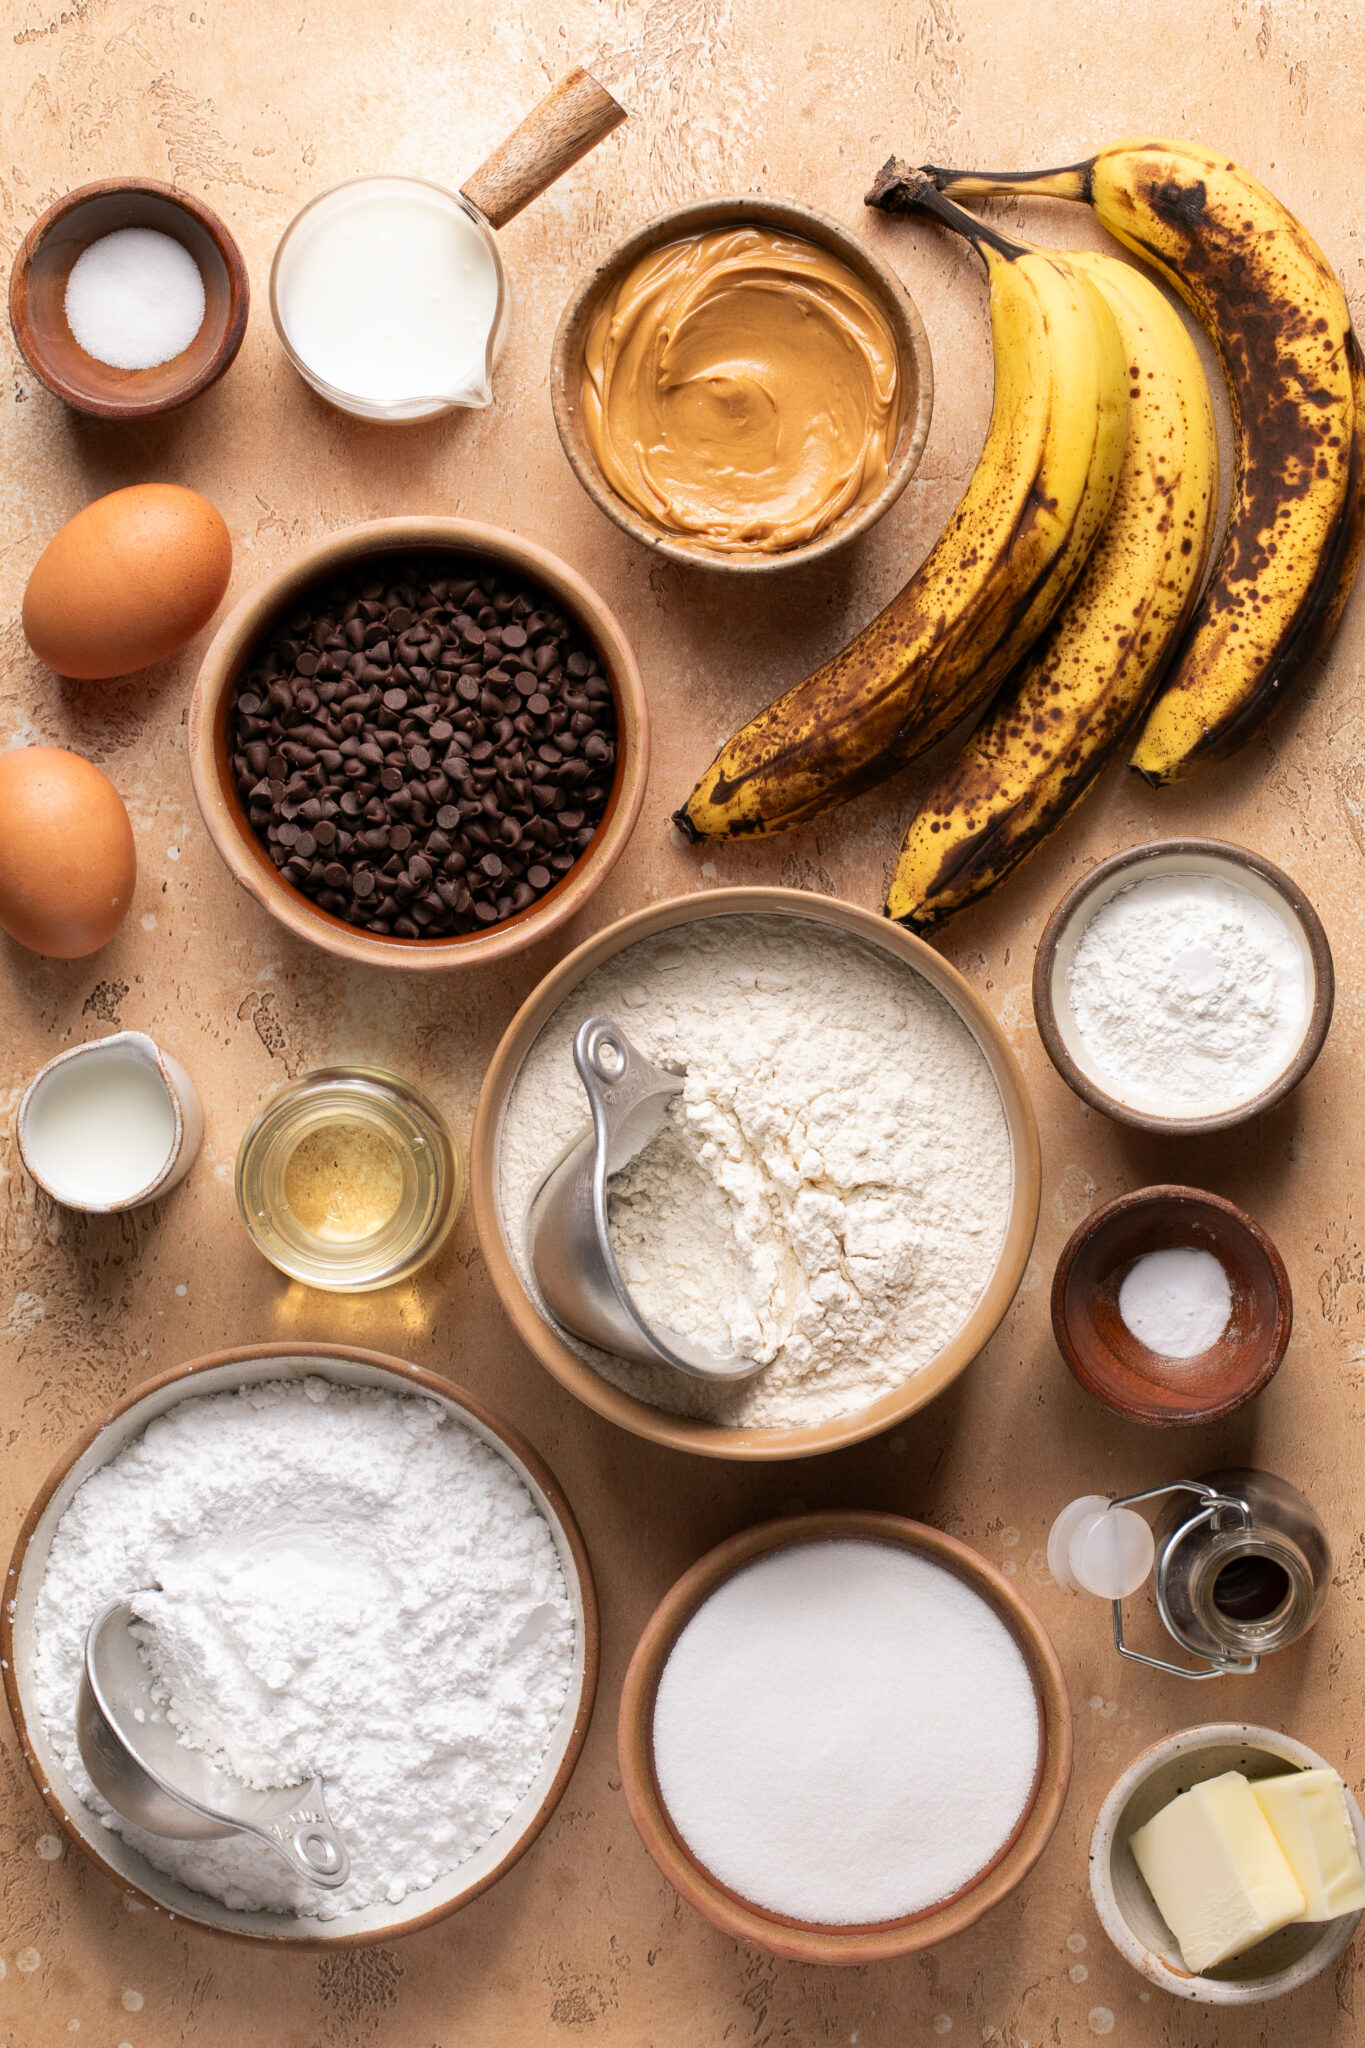
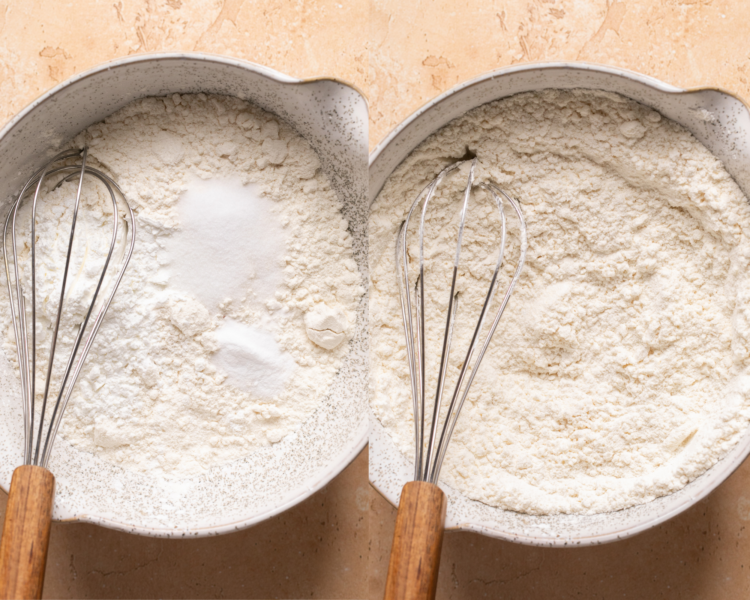
Vegetable oil: I recommend using vegetable or canola oil since both are neutral in taste. I have not tested this recipe with avocado, coconut, or olive oil. Granulated sugar: Sugar sweetens the bread and complements the natural sweetness of the bananas. It also contributes to the bread’s tenderness and moisture. Eggs: Be sure they are at room temperature. This helps with even mixing, proper emulsification, and even baking. Pure Vanilla Extract: Vanilla extract adds a pleasant aroma and flavor to banana bread. It enhances the overall taste without overwhelming the banana flavor. Buttermilk: Buttermilk can help create a more delicate and tender crumb in the banana bread. This should also be at room temperature. Bananas: Be sure to use ripe or slightly overripe bananas. They should have brown spots or streaks on them. These bananas are perfect for banana bread because 1. They mash effortlessly, and the texture of the mashed bananas is smoother, ensuring a more consistent distribution throughout the batter. 2. You’ll get a richer and more intense banana flavor from ripe to overripe bananas, enhancing the overall taste of your bread. Significantly overripe and mushy or underripe bananas that are still green are unsuitable for banana bread. Flour: spoon and level the flour to get an accurate measurement. Too much flour will result in dry bread with an unbalanced flavor and can cause the bread not to rise and become dense. Other dry ingredients needed: cornstarch, kosher salt, and baking soda.
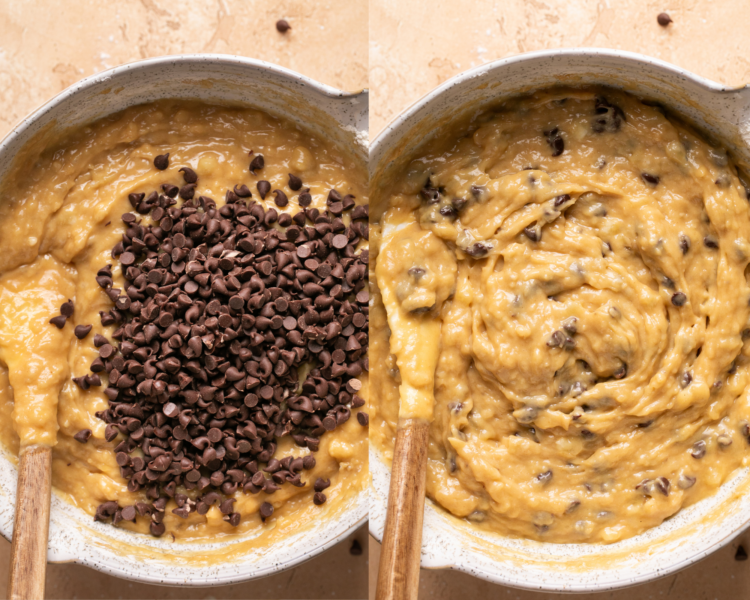
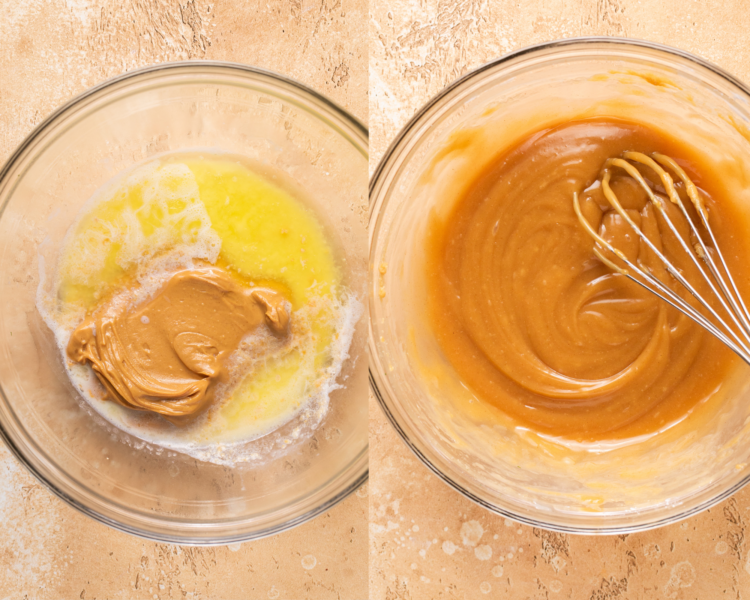
Step by Step Directions
Be sure to scroll down to the recipe card for the full recipe instructions.
Tips
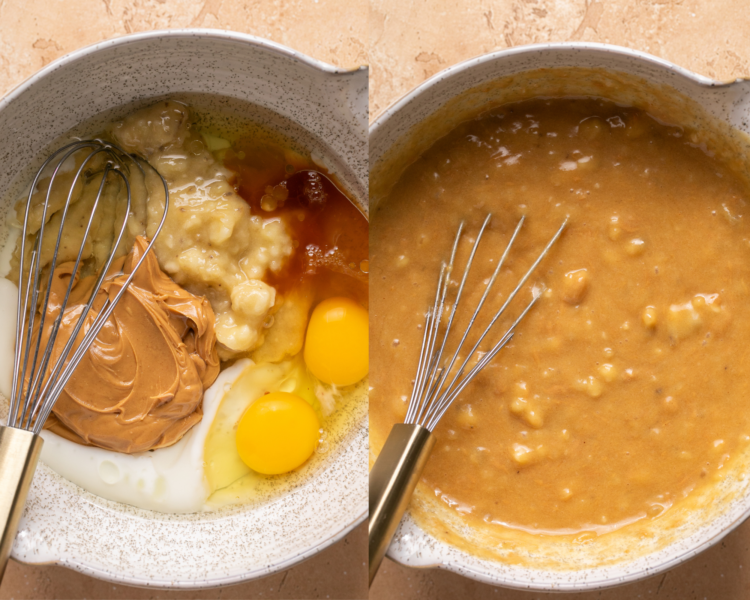
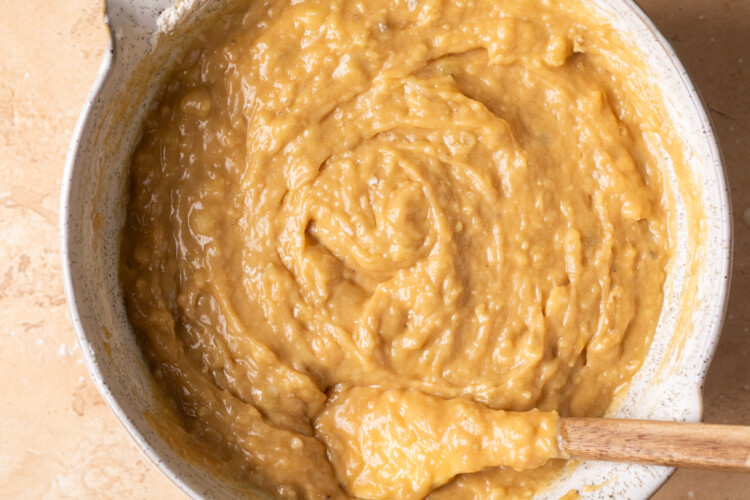
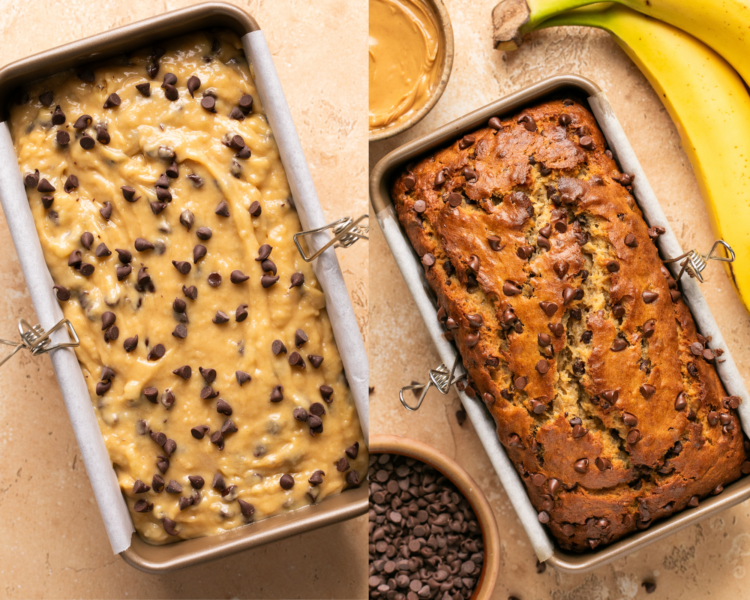
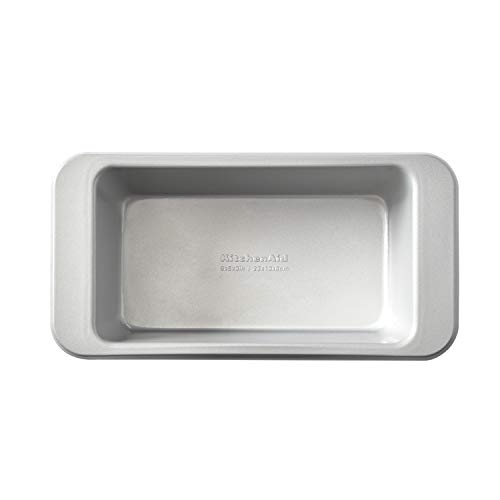
Mash Bananas Thoroughly: Mash the bananas well to ensure a smooth and consistent banana flavor throughout the bread. A few small lumps are okay. I usually like to use my hand mixer to get them perfectly mashed. Don’t add too much banana: I always measure out 1 1/4 cup mashed banana for my recipe, which is usually 4 small or 3 medium bananas. Using too much mashed banana can lead to texture issues and the bread may not cook or rise properly. Don’t Overmix: Mix the wet and dry ingredients until just combined. Overmixing can lead to a tough and dense texture. Ripening Bananas Quickly: If you don’t have ripe bananas on hand, you can ripen them quickly by placing them in a paper bag for a day or two. The ethylene gas they produce will speed up the ripening process. Resting Time: Allow your banana bread to rest for a few hours or even overnight before slicing. This resting time allows the flavors to meld and results in a moister and more flavorful loaf. Loaf pan: Light-colored pans reflect more heat and can yield a lighter crust, compared to dark pans. I have not tested this recipe in a glass or ceramic loaf pan, those pans will require an adjustment to the baking times.
Storage
Room temperature: Will stay at room temperature for 2-3 days. Wrap in plastic wrap and place the wrapped banana bread in an airtight container, such as a plastic storage container with a tight-fitting lid or a resealable plastic bag. If you’re stacking multiple slices or pieces, separate them with sheets of parchment paper or wax paper to prevent sticking. Refrigerator: wrap and store in the fridge for up to 1 week. Freezer: If freezing the loaf, I recommend freezing the banana bread and frosting separately. Apply the frosting after thawing the bread. To freeze, wrap the banana bread in plastic wrap or foil and then place it in an airtight freezer-safe container or a heavy-duty freezer bag for up to 2-3 months. Be sure to label and date to keep track of how long it has been frozen. When ready to enjoy, remove it from the freezer and let it thaw at room temperature for a few hours or overnight. Or, microwave a slice!