I thought the days would be long (fun long like a Monopoly game) but they sadly flew by SO fast just like my airplane will do here shortly on its way back to San Fran. What I learned at this workshop is simply nothing compared to anything I have tried to teach myself through a YouTube video or other similar tutorial videos. Here is a little breakdown of our 2 days so you can get an understanding of what we did: Phase 1: DSLR Mastery Phase 2: Lighting Phase 3: Styling Phase 4: Editing
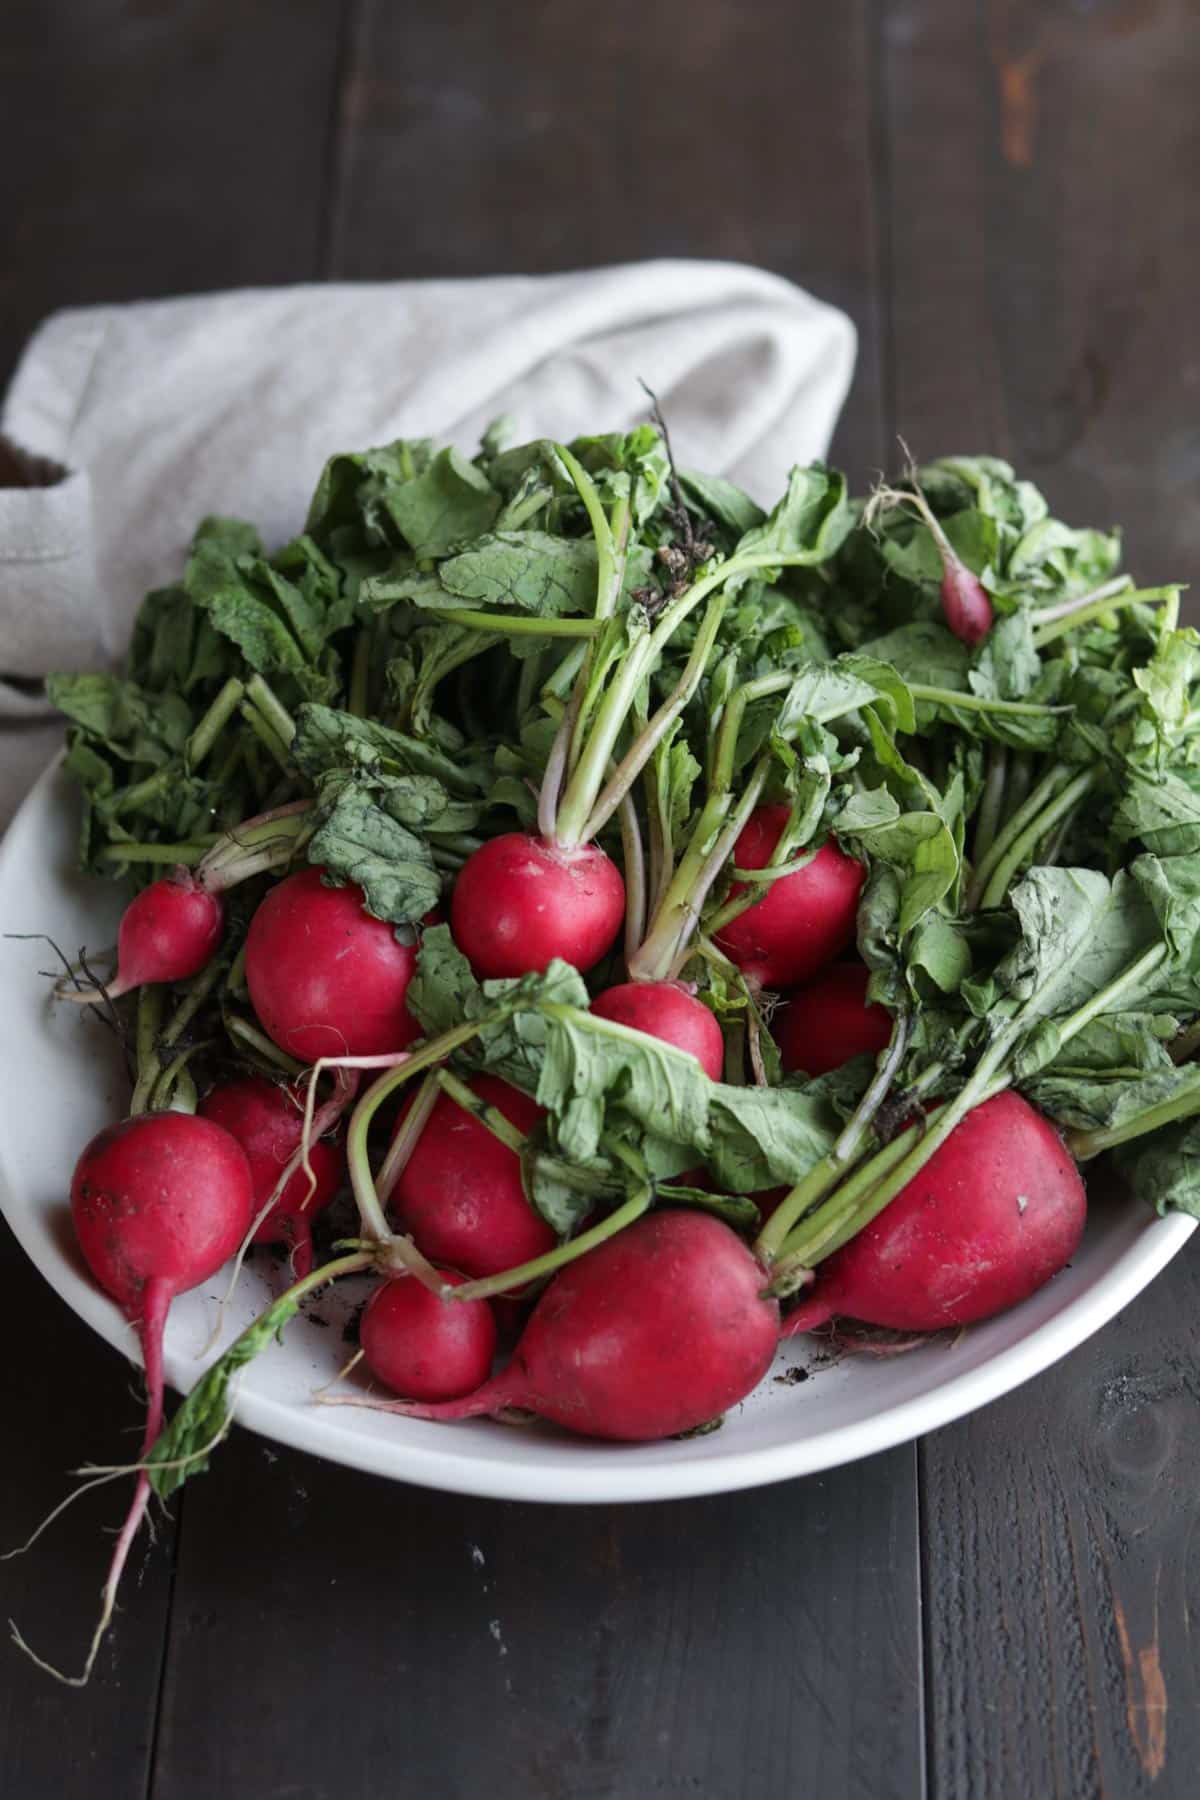
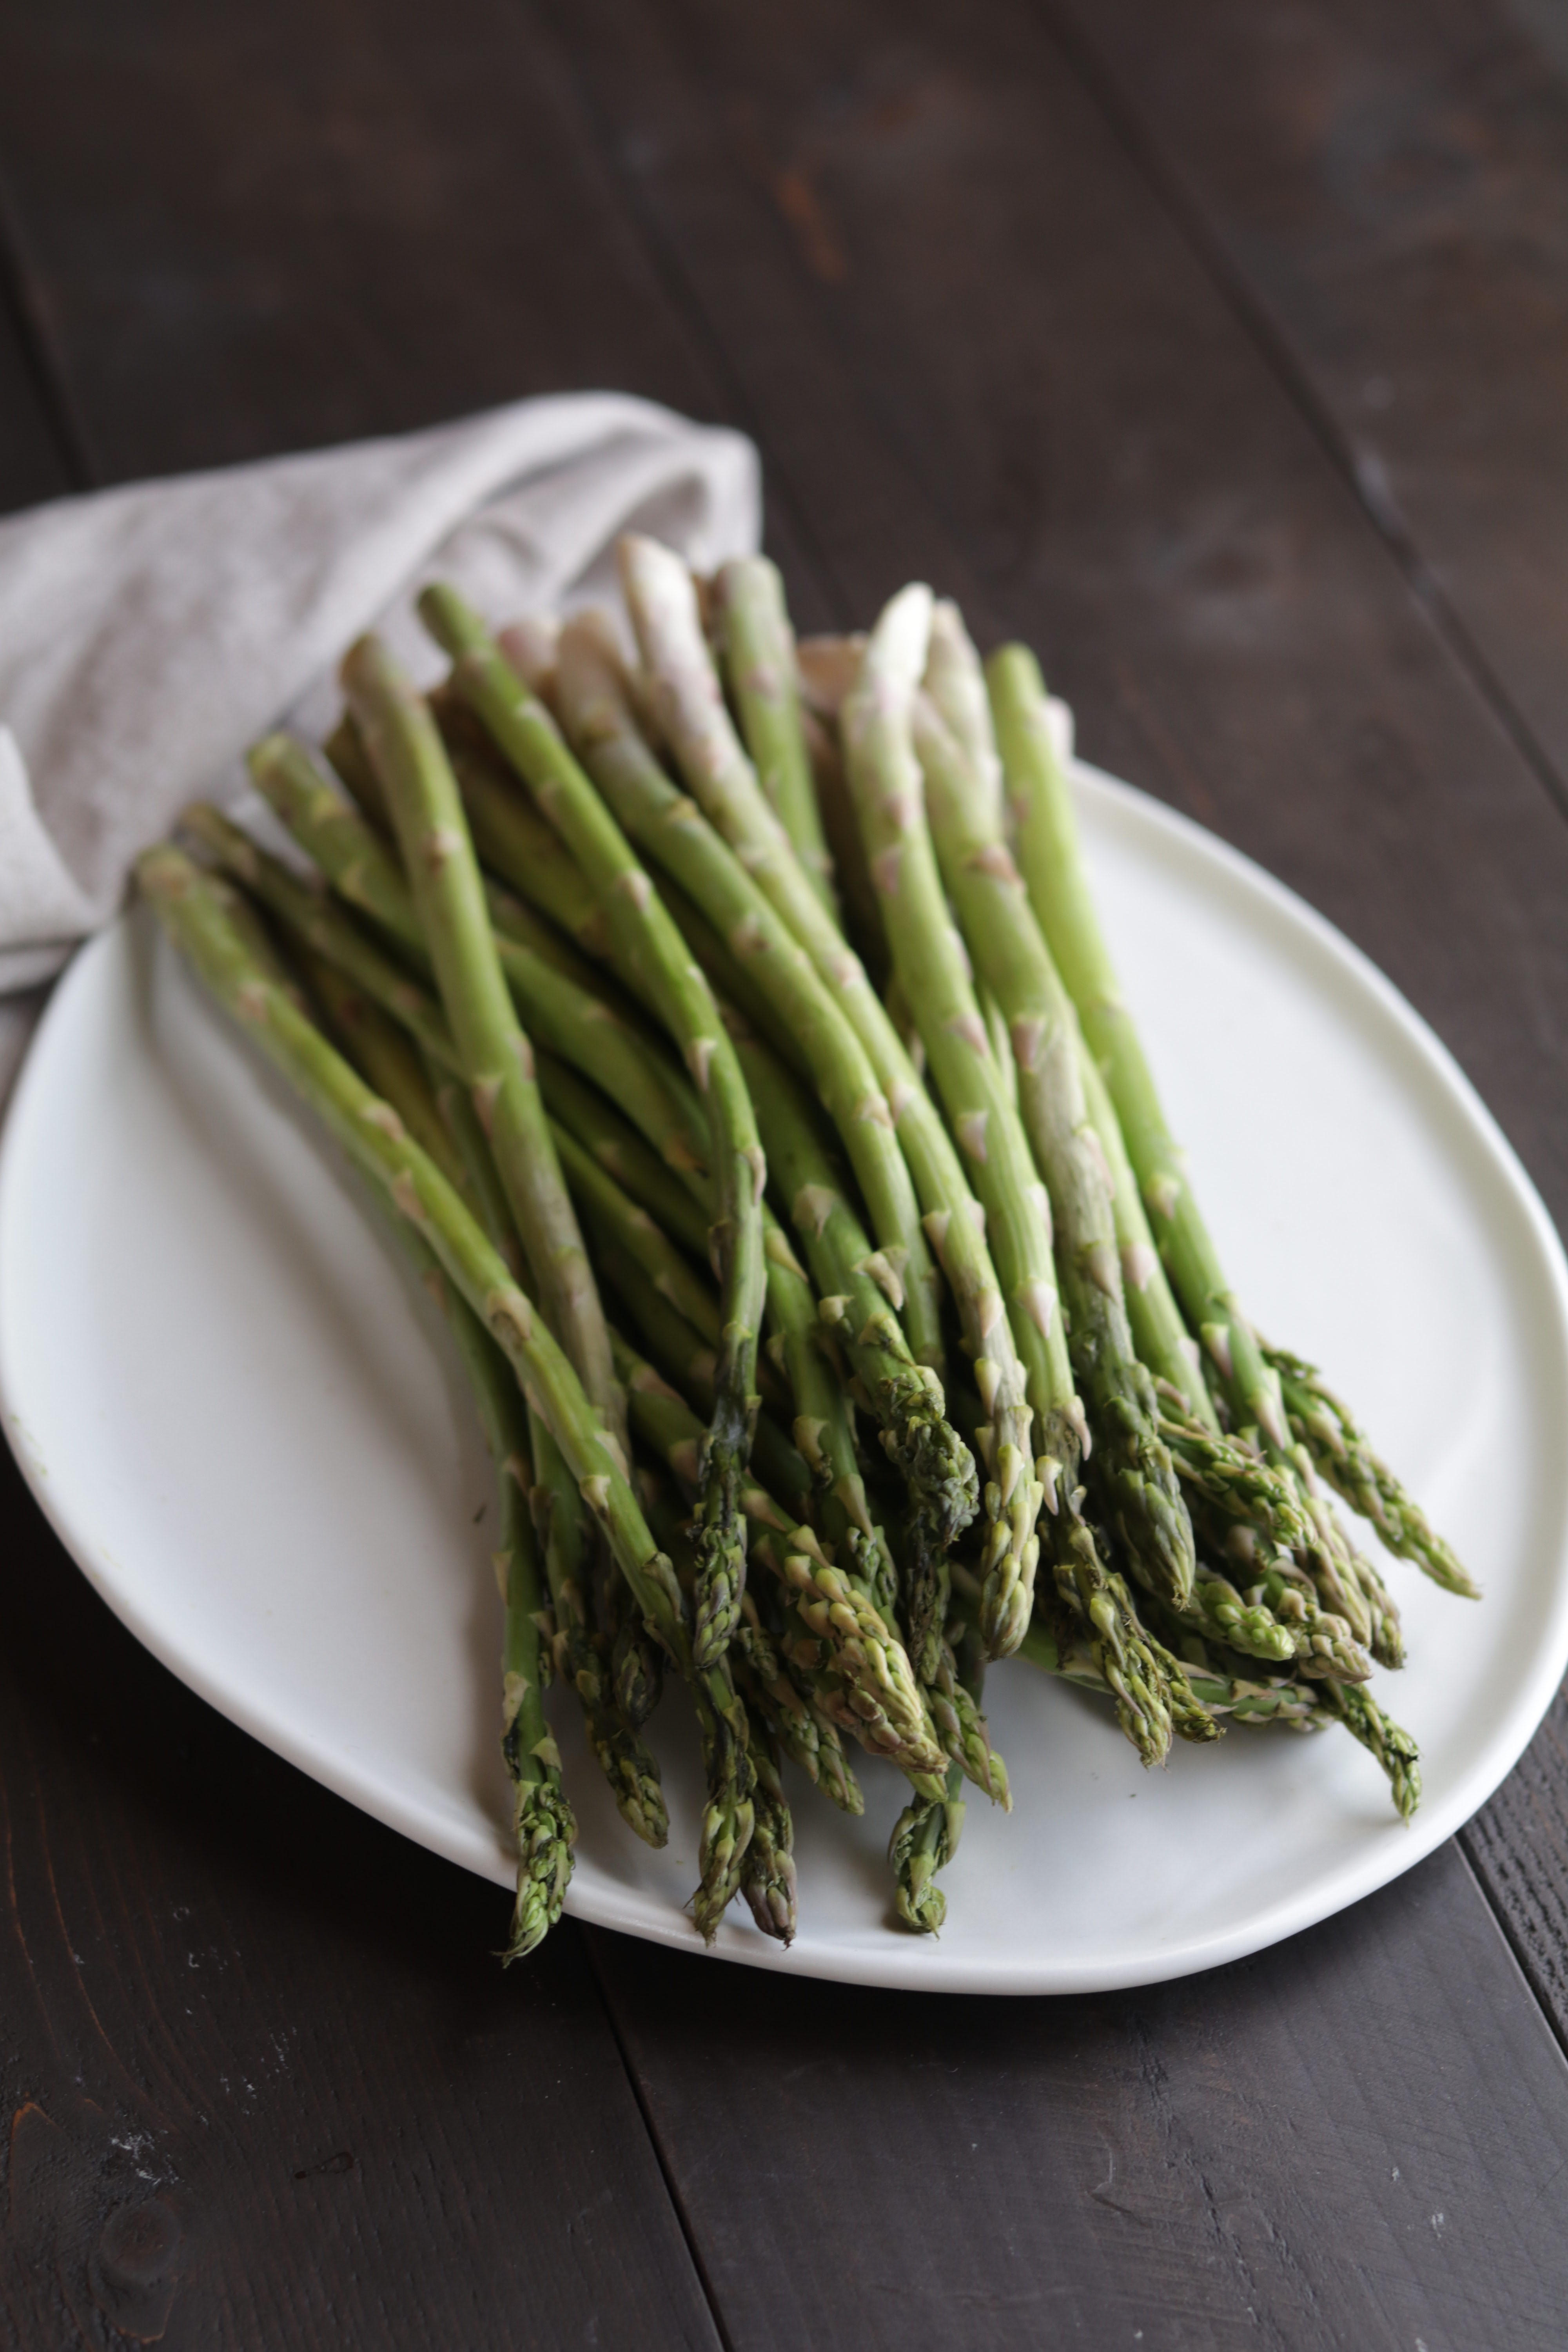
In-between the phases of Lindsay “lecturing” – which she was so good at by the way, must be her teacher skills from her previous job – she had us individually set up by well lit windows so we could practice what we just learned. For example, after we learned about the DSLR mastery section – we had some very simple yet beautiful produce to take photos of. WHICH I NEVER KNEW COULD BE SO FUN! Our aim was to really tinker with the ISO, Aperture and Shutter and see how they all work together on manual mode. It’s fascinating to see how they all play off each other. Simply taking 1 step to the right or left and having a different angle of light hitting the plate of radishes can dramatically change how the photo will turn out. When I am at home, in my non-POY studio AKA the spare bedroom in the house, I never take the time to play with the camera settings in this way. Now, I will. [Tweet “Find out what I learned at the Tasty Food Photography Workshop at the Pinch of Yum studio! krollskorner.com”]
APERTURE
Creates the appearance of background blur/depth of field 50mm lens: 2.5-4.0 100mm macro lens: 2.8-8.0
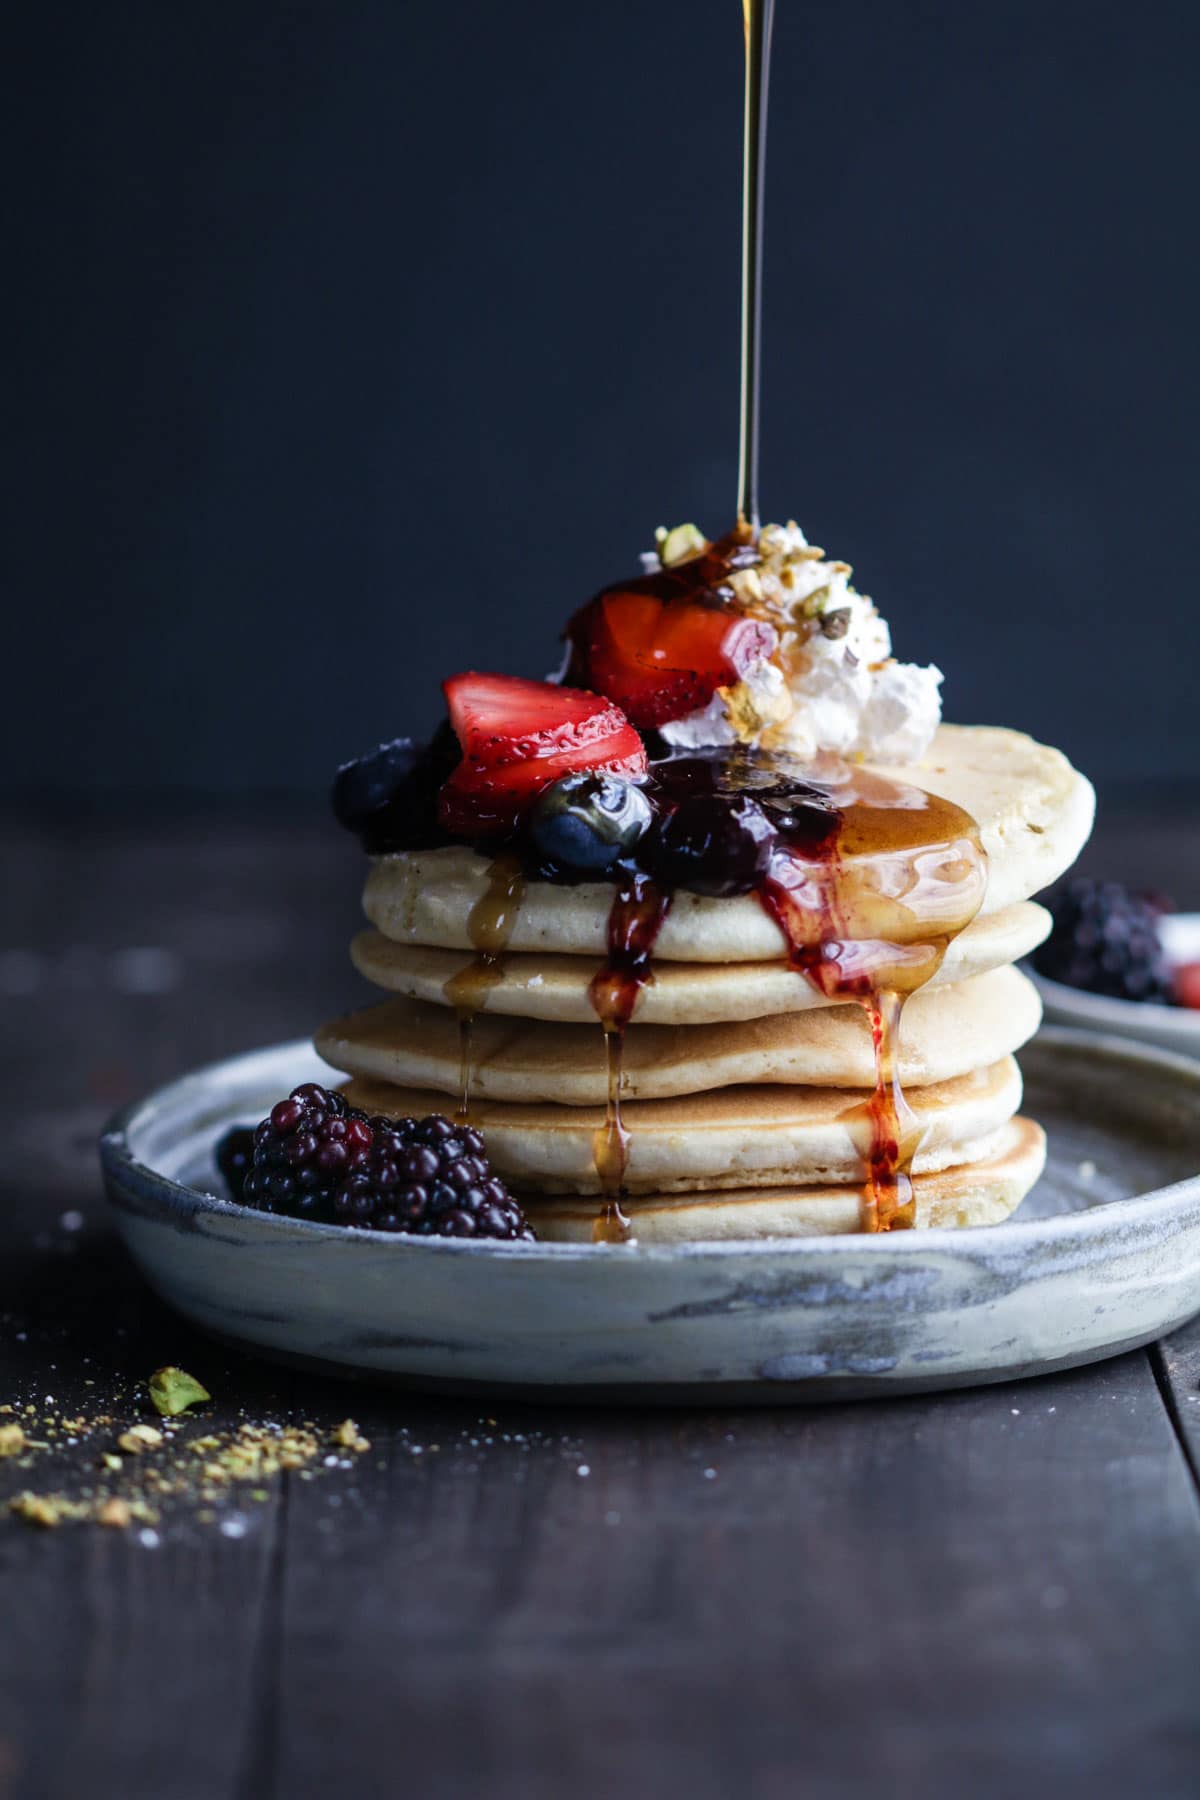
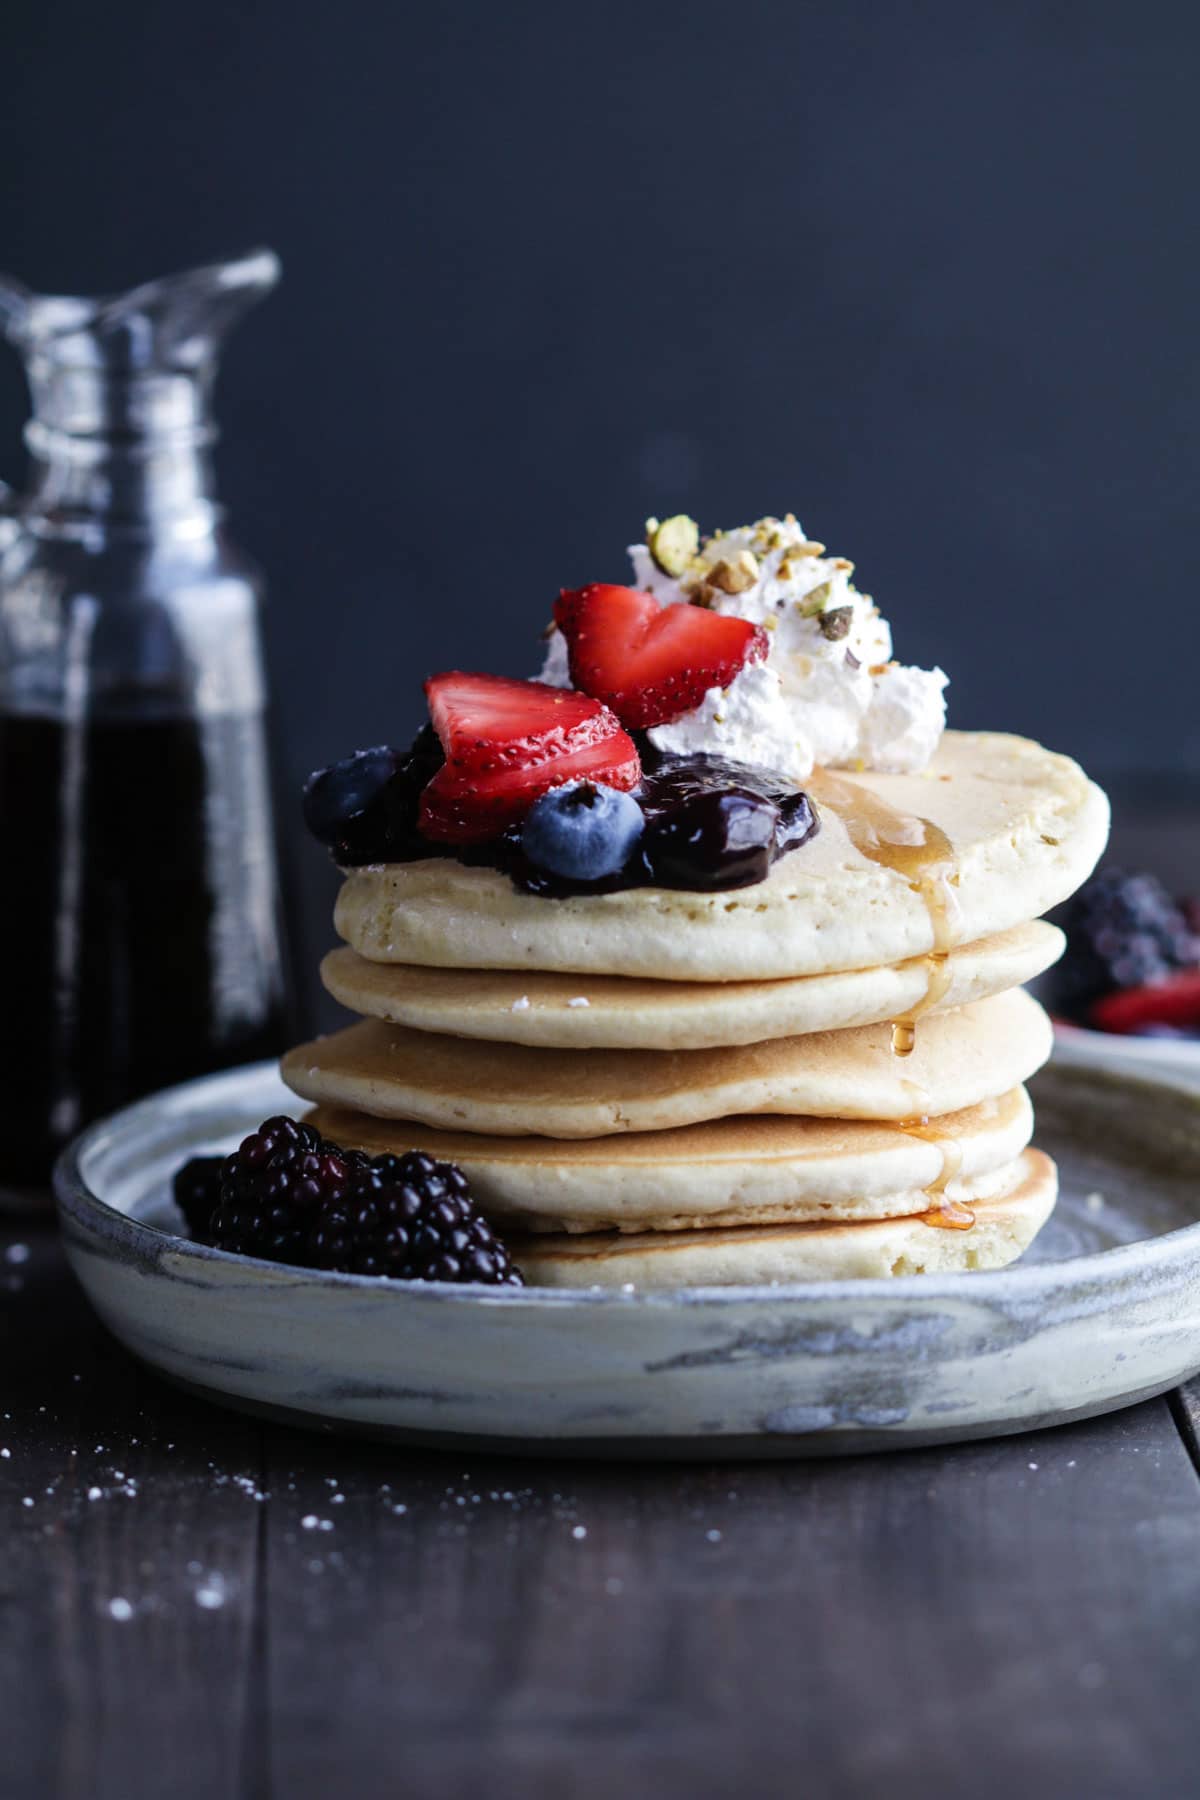
SHUTTER
Lets in light Bigger # = faster shutter = less light Captures movement. So for the pour shot on my pancakes, I needed a higher shutter & I was using my 100mm lens for the pancake shots. 50mm lens: 60-200
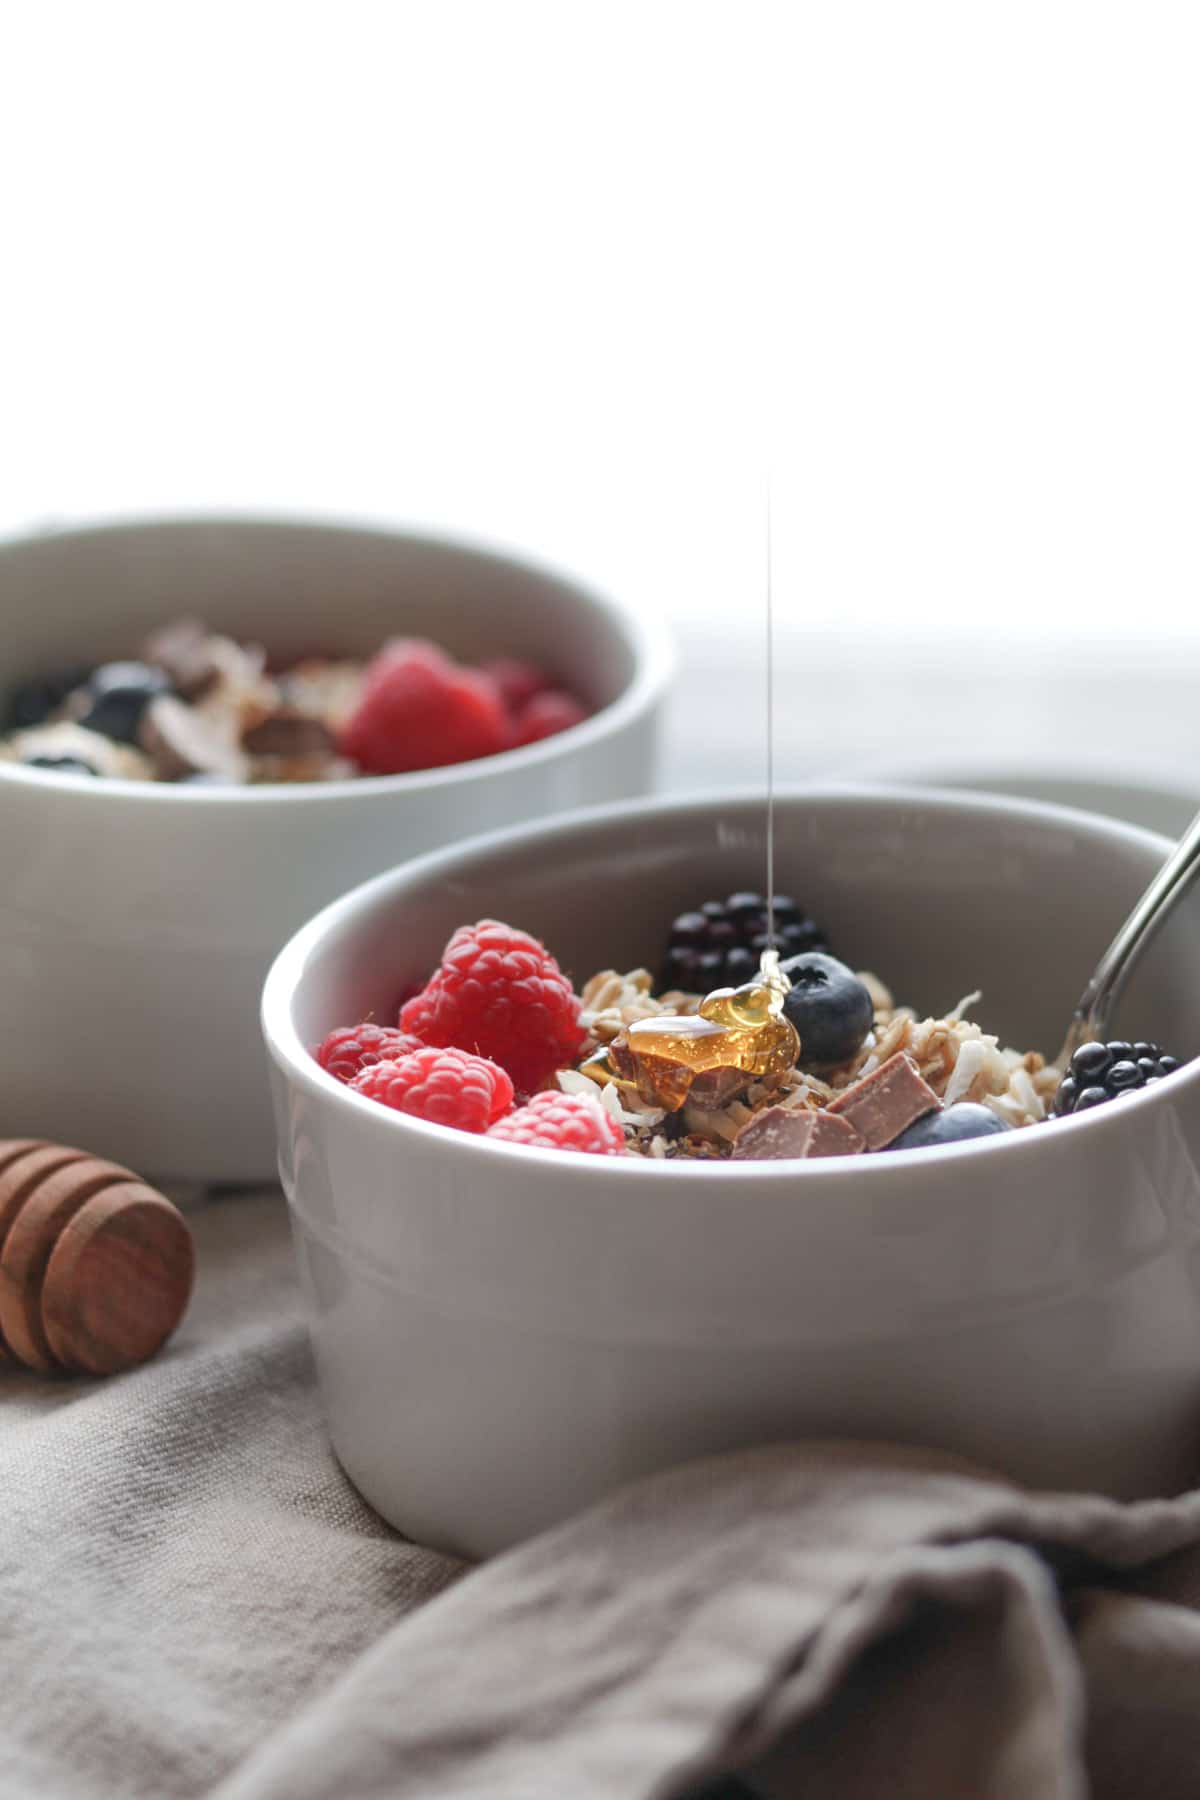
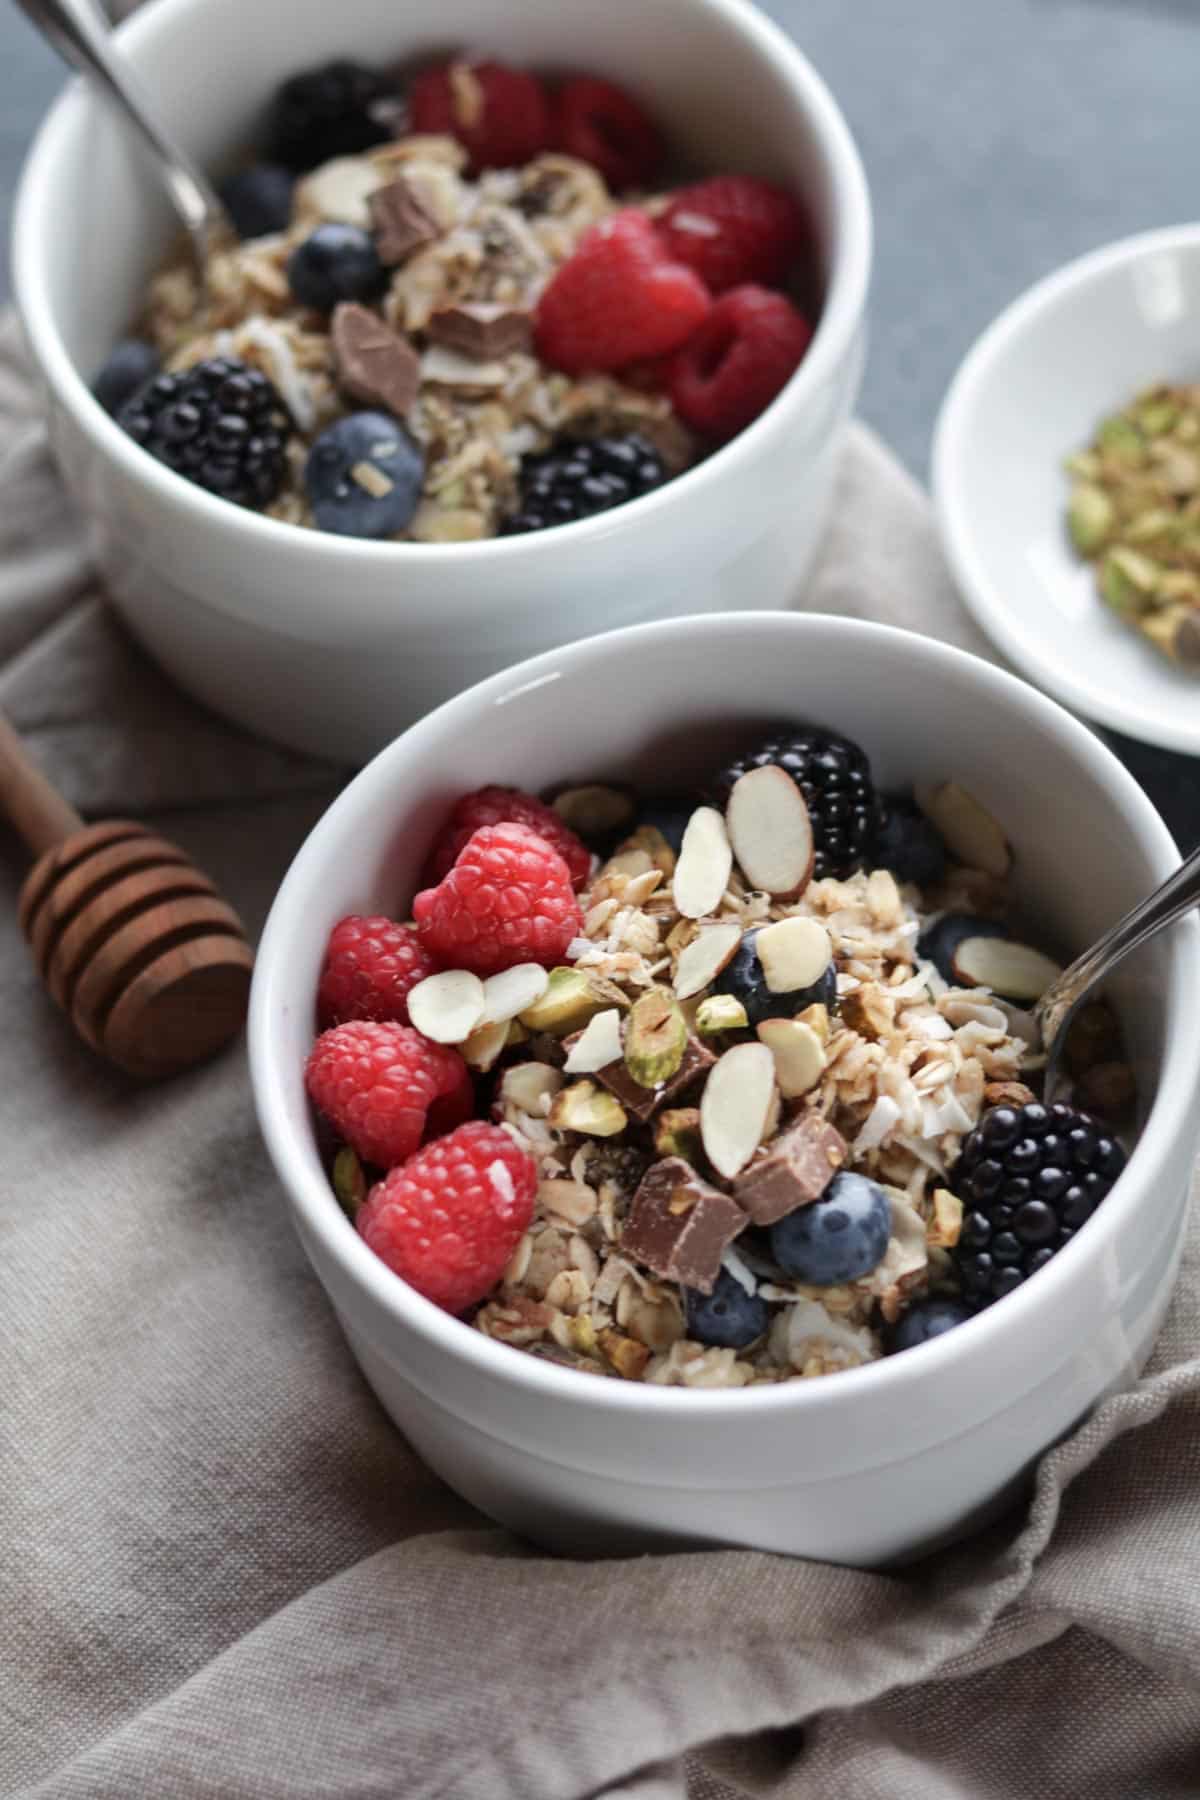
ISO
Simply makes your photo brighter or darker Sensitivity to light AKA the magic light booster! Higher ISO = higher brightness = more noise (be careful of that). 50mm lens = 200-800
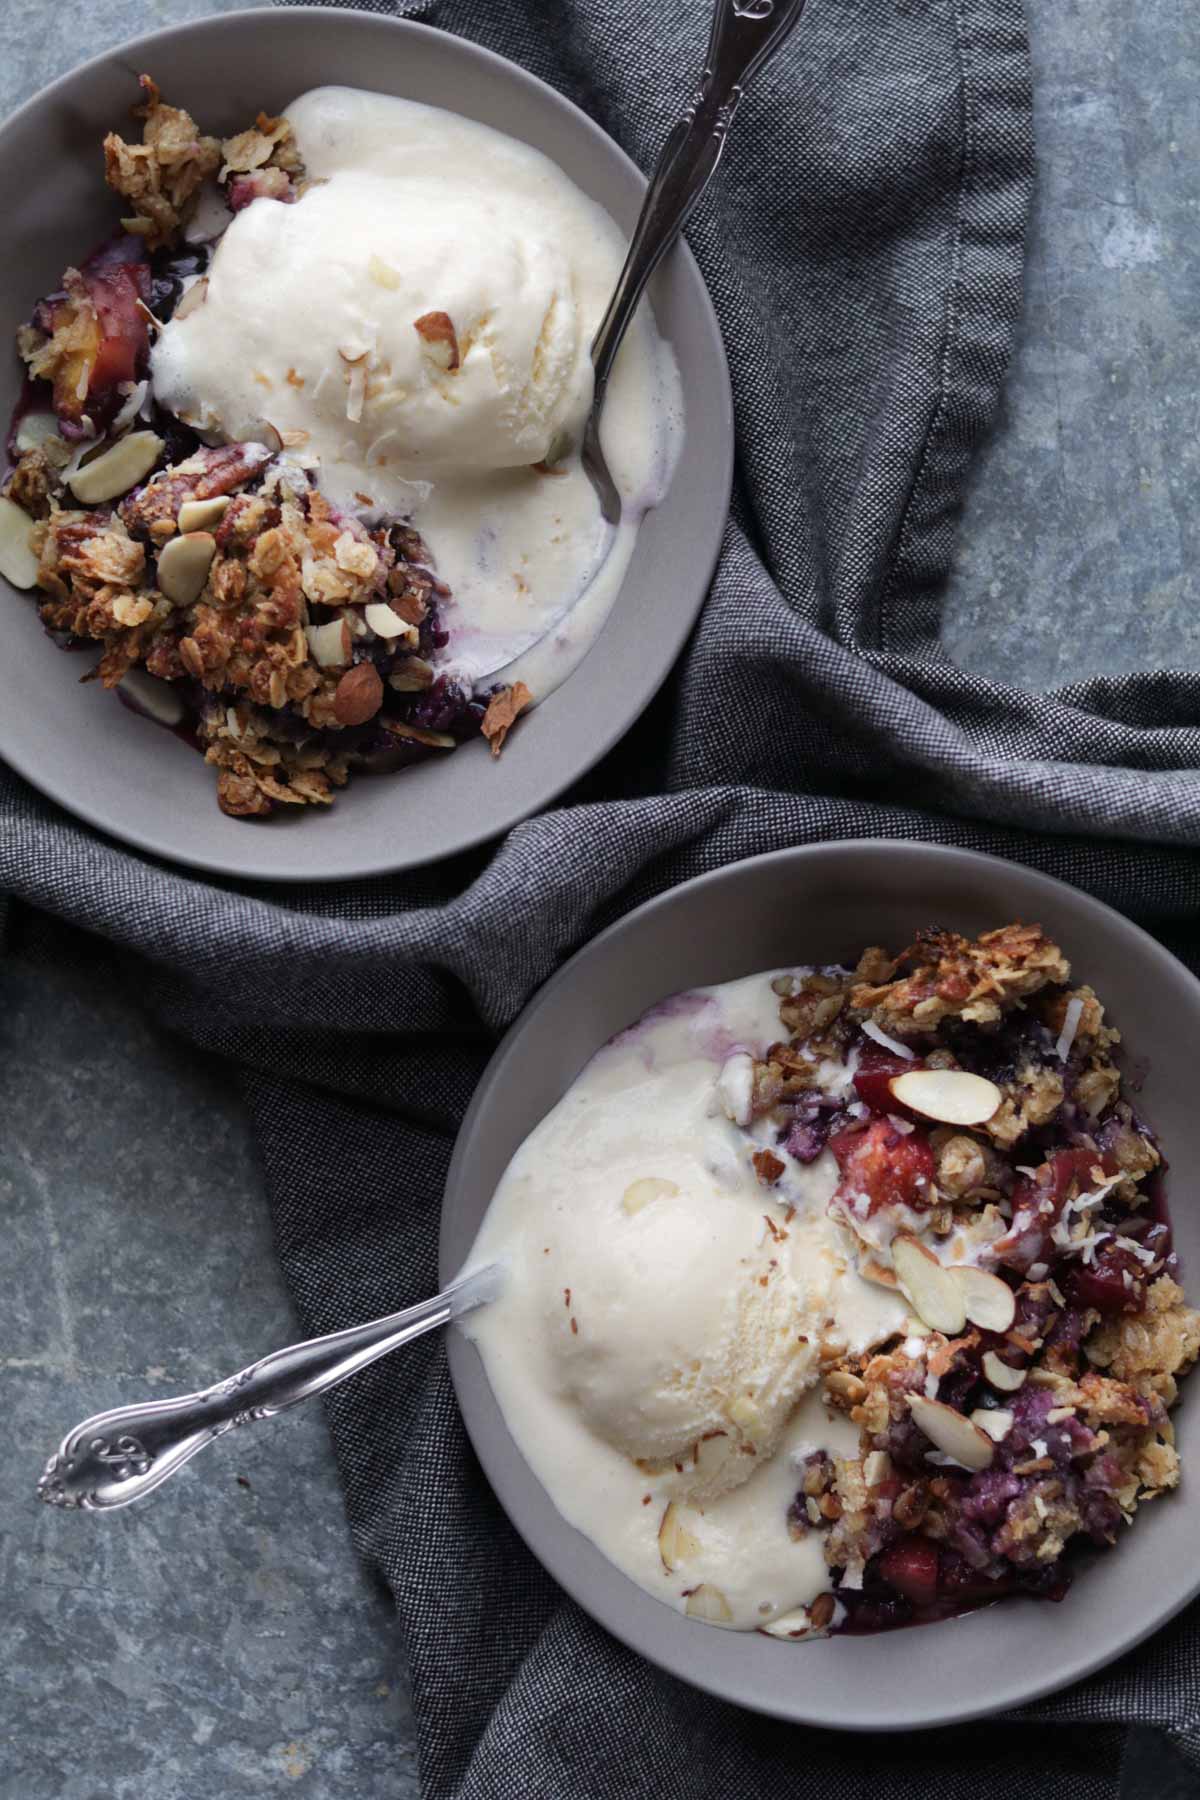
During the styling part of the workshop Lindsay told us, “Props don’t make you a good photographer.” And it’s so true. If you don’t have the camera settings down and the proper lighting first – props won’t really make a big difference. Another big thing I took away from the styling section was the idea of doing a test styling run – so during the recipe development or even before, getting a really good idea of the way I’m going to style the food before I set up the shoot. Often times I am so caught up in making the food and hurrying to take a really good picture so I can get a blog post up and overall rush through the shoot. This doesn’t make for good food photography. There was so much thought, patience and intentional decisions made when taking the pancake photo at the POY studio. That shoot probably look me the full hour to get the photo I was “happy” with. I want to spend quality time moving forward like that with all of my photos. A popular quote from the 2 days was: “You live and die with every photo you take.”
During the editing section, we learned how to edit photos using Lightroom. I’ve been using Lightroom for my photos for a long time, but I quickly learned I was not using it in the most effective way. My photo editing routine basically consisted of going to the basic panel and playing with the shadows, highlights and saturation here and there and then calling it good. We learned more detail about using the adjustment brush AKA the best tool ever, the color panel (HSL), copying and pasting edits from one photo to the next, and so much more. A big thing I took away from this section is keeping in mind what photo style I have. Are my photos typically bright with pops of color, or more dramatic and have a lot of shadows? Do I use a lot of props or do I like the more simplistic style? I think I have yet to truly find what my style is because I am learning so much every day about food photography. I remember I took an Uber in Boston last year and was chatting with the guy about photography. He had previously taught photography and was pretty experienced (so it seemed). I told him I have a food blog and he quickly told me food photography was the hardest photography of them all. Eeeek. According to my track record, I’m always up for a challenge. And this food photography journey has been one of the best challenges I’ve set for myself. Time, practice, and patience.
I can’t thank you all enough for supporting and following Kroll’s Korner. I am SO stoked to see what’s next and explore this journey with you all!
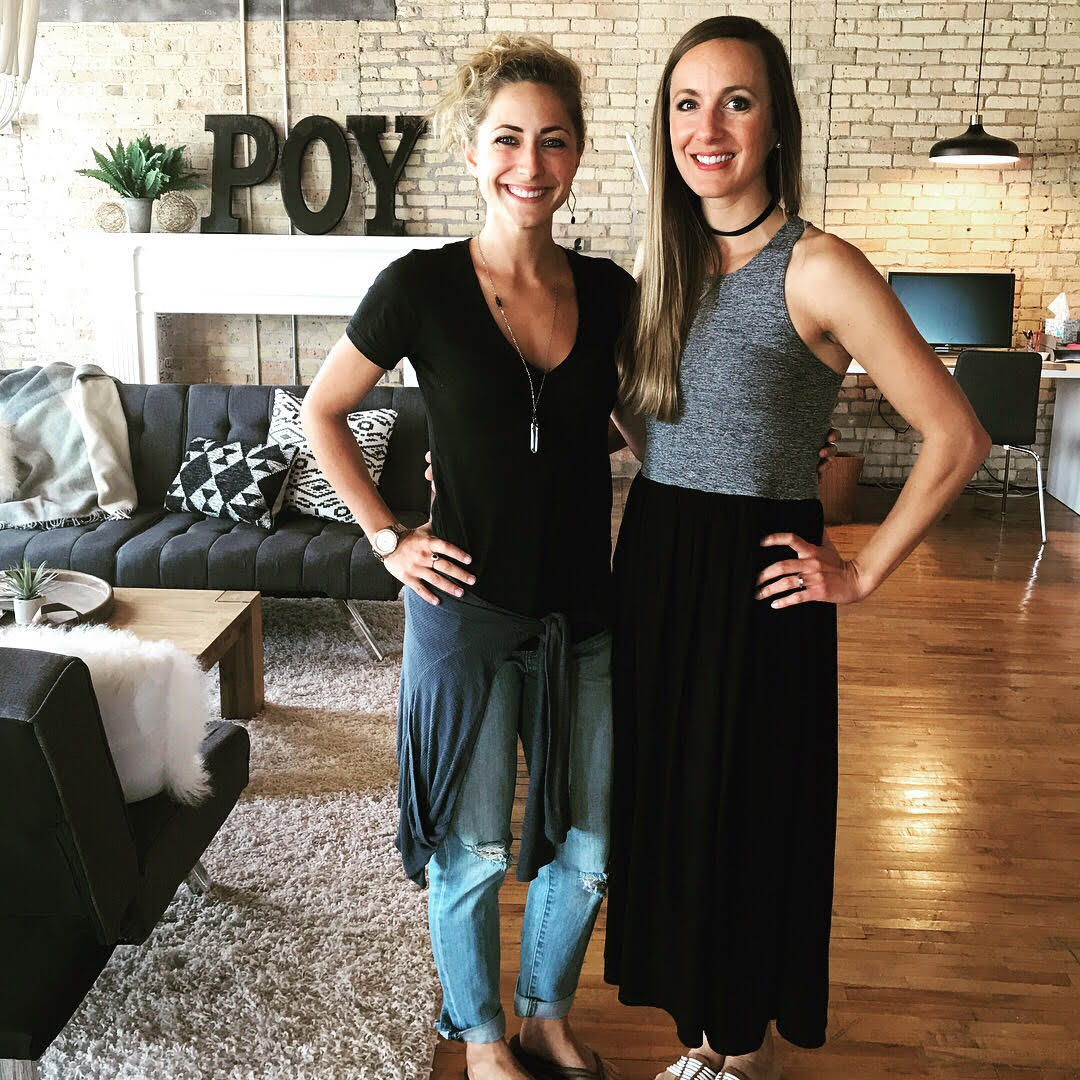
The Tasty Food Photography Workshop is so worth it in my opinion if you’re looking to improve your skills and take your blog to the next level. I am so thankful for my opportunity to attend and meet some wonderful ladies!